How To Edit A Beard On Face Like It Was Always Perfect
June 27, 2025

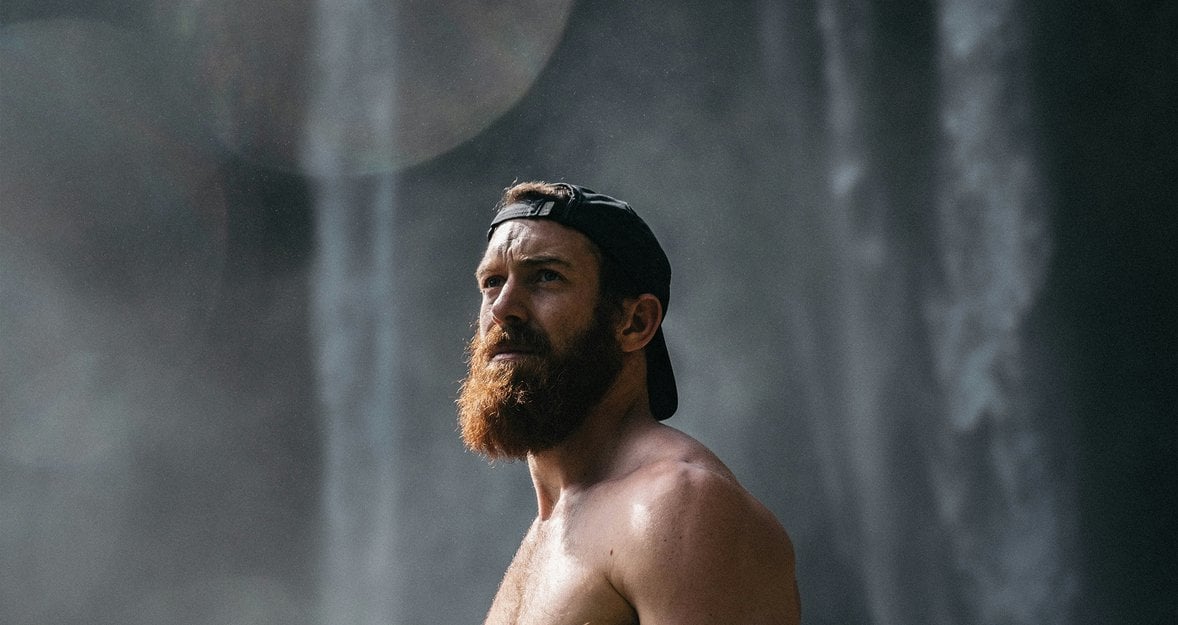
Beards don’t always get the spotlight in post-processing, but they should. Just like skin, hair, or eyes, facial hair deserves some focused attention if you want your portraits to feel polished and intentional. Stray hairs, patchy spots, uneven lines—they’re small things, but they can throw off the whole vibe of a portrait.
In this guide, we’ll dive into how to shape, fill in, and edit beards so they look like they belong there—natural, clean, and flattering. We’ll be working inside Aperty, a portrait-first editor that’s packed with tools designed for subtle but impactful changes. If you haven’t used it before, you’ll see how it makes beard photo editing a lot easier (and faster) than doing it all by hand.
Let’s explore how just a few simple steps can turn scruffy into intentional and bring balance to the whole face.
Learn more: A Guide to Eye Retouching for Natural-Looking Photos
Preparing the Image before Beard Editing
 There are a few steps that need to be taken before beginning work on the beard, as that task usually comes at the end of the editing process. Here’s a quick breakdown of what you need to do using retouching photo software Aperty.
Import Image: Begin by creating a project by heading to the folder icon at the top of the screen, then import your photo by dragging and dropping your image into your project folder.
Basic Editing Work: It is essential that you work on your base edit first, as it will be much easier to blend all work done on the beard than attempting to do this the other way around. Here are some highlights from Aperty that you can use to get a professional look in no time at all.
Essential Tools: This includes exposure and contrast adjustments, and adding any sharpness or clarity. There is a particularly useful tool called Structure that adds sharpness and clarity together using AI technology so that the adjustments are more fitting with your image. There are also colour tools here for any grading you wish to apply.
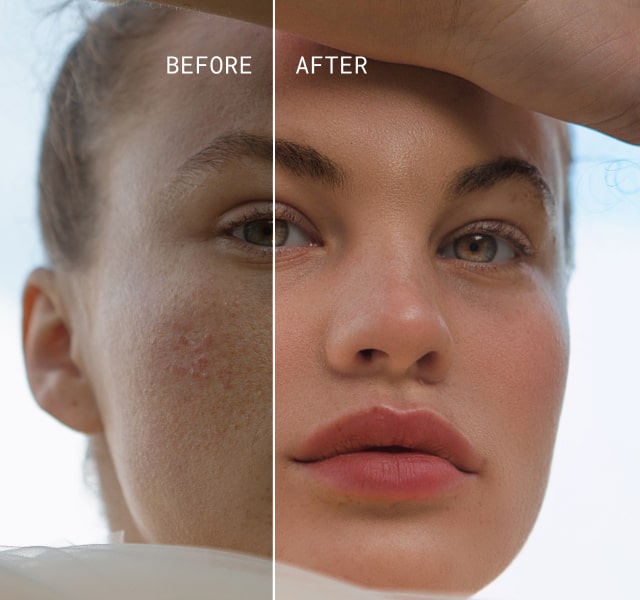
Retouch: Tasks such as blemish removal, highlighting features, and smoothing skin are done in no time at all with just the click of a button. Adjust the strength of the application as you see fit, with the best part of these tools being that they focus on preserving skin textures, so you don’t have to worry about unrealistic or over-processed looks.
Reshape: For any adjustments to facial alignment or reshaping the body, everything can be found here. This includes changing the shape of the nose, adjusting eyebrow arches, and much more.
Creative: Here you can add light sources, LUTs, portrait bokeh, and more. As the name suggests, this is where you can really explore and have fun with the creative side of editing.
No Limits, Just Creativity – Pick a Plan & Start Editing
Once you are happy with how your image looks, it will be much easier to adjust your subject's beard and hair. So now that you’re ready, it’s time to get that perfect beard.
Step-by-Step Beard Photo Editing
 There is a lot we can do with the beard to make it look full and stand out. So follow our step-by-step guide to get some outstanding-looking facial hair.
Step 1: Masking
 Before we make any changes to the beard, we need to create a mask for it. To do so, head to the masking tool, which can be found on the right-hand menu, second option down.
Next, click on Mask Person(s). You will now have a new mask titled Person 1. Next to this label, select the three dots and click the Subtract option in the menu. We are going to brush away all of your subject, keeping the beard highlighted red. Next, change your label to Beard, and you’re all done.
Step 2: Tidy the Edges
 Leaving the mask for now, head to the Erase tool at the top of the screen. A new menu will appear on the right-hand side, and we want to click on the tool shaped like a stamp. The Clone Tool will allow you to locate any out-of-place bristles above the shaving line of the beard and replace them with skin texture instead.
Begin by zooming right in on the cheeks of your subject and adjusting the brush size to match the size of the bristles. Next, click on a clear piece of skin and from here you can start to click on the hairs. You may need to adjust the source from time to time, and be sure to zoom out to see how your image is looking from a broader perspective.
Similarly, you can try the Erase tool, which is a content-aware AI tool that intelligently matches the background with what’s surrounding the area you’ve brushed on. Adjust the brush size so it suits your image, and carefully brush along the hair.
Step 3: Fill in Patchy Areas
 If part of the subject’s face is showing through the beard, this can easily be filled in. Using the Clone Tool, you can select any area of the beard with higher density for your source, and brush over the area where the skin is visible. This will help give a much fuller beard.
Step 4: Textures
 Head back to masks and select your beard mask. With the mask menu open, you can select tools from inside the Essentials menu and begin to work exclusively on the beard.
We are first going to add some texture, but be mindful of how much you need to add. Use the Structure tool to add clarity and sharpness, or be more intricate with the Details tool. Here, your small, medium and large details are all separated, with the smaller details being something you may want to focus on.
Step 5: Colours and Tones
 There are three methods for working on the colour and tone of the beard. The first involves the Clone Tool. Depending on the age of the model, some grey hairs may be popping through, which can be dealt with for a much cleaner look. Zoom in, locate these hairs, and replace them with darker ones.
Then there is the overall colour and tone of the beard. This can be worked on by heading to the beard mask and using the Color and HSL tools. If it is looking dull, you may need to add more vibrancy to the beard or adjust the hues to match the light or scene more suitably.
Men often want a darker beard, as it looks more pronounced. We can achieve this by heading to the Light tools within the Essentials menu. Ensure you have the mask selected, and subtly make the beard darker by reducing the Black or Shadow slider. Another option is to head to the Dodge and Burn tools, where you can use the Burn tool to brush in darker tones. You will want to be mindful that the beard still looks natural with the rest of the image.
Once all of those steps have been completed, zoom out and assess your work and how it looks overall within your shot. It needs to look natural and not too eye-catching as to distract from the rest of the image.
Less Time Editing, More Time Creating
Top Tip: Before exporting, take some time away from the image and come back to it later. Did the beard immediately stand out in a negative way? Sometimes, when we work too closely on one particular process for a while, we get tunnel-vision and stop seeing how it fits in with the overall image. A fresh set of eyes usually spots issues immediately.
The Bottom Line
 Getting a perfect-looking beard has never been easier than with Aperty. The available tools, including the Erase and Clone tools and the masking options, will help you get a full and striking-looking beard.
Be sure to follow these steps, plus the following tips for a natural and realistic look:
Don’t over-process: Too much texture will make the beard look too harsh against the rest of the image. Similarly, any drastic colour or tone changes will make the beard stand out for all the wrong reasons.
Zoom out regularly: See how the edited beard in the photo looks overall.
Take a step away: Once finished, take a bit of time away so that you can assess your work with a fresh set of eyes. It makes a huge difference.
Enjoy working on your subject’s beard with Aperty, along with all the other great tools at your disposal for a professional-looking portrait in no time at all.
