Studio Lighting Setups: Photography Cheat Sheet
May 26, 2025
Do you know the secret to getting professional-looking results in a studio? Some might think it’s having the latest camera with all the bells and whistles, paired with the best quality lenses. But here’s the thing: you can invest all your money there and still fall short (yep, unfortunately).
Without good lighting, your photos won’t have that polished look that top studios are known for. The reason is simple (as always): Light is everything in photography. It is what makes your image sharper and more detailed, helping every feature stand out. It is also about knowing how to position your lights, as there are multiple setups designed to create specific looks suited to portrait, fashion, or product photography. So if you want commercial-quality results in your studio, read on!
Understanding Studio Lighting Basics
When it comes to studio lighting setups, you may see one or multiple lights, each with a specific role. We are going to walk you through some setups, but first, here is a list of what these lights do to help you understand the technical terms:

Key Light | This is your main source of light and helps set the mood for your photo. |
Fill Light | A secondary light that helps reduce or eliminate shadows and darker areas. |
Rim Light | Directed at the back of your subject, this light highlights the edges and helps separate them from the background. |
Background Light | Used specifically to illuminate the backdrop in your scene. |
Hair Light | Similar to the rim light, this is focused on the head or hair to give more definition and separation from the background. |
Kicker Light | Placed behind and to the side of the subject, this light adds highlights to the cheek, jawline or side of the body. |
Don’t worry, you don’t need all of these lights to get started. You can still achieve great results using just one or two lights, such as a key and a fill, to create atmosphere and bring your subject to life.
Now let’s take a look at some setups you can start trying out!
Make Any Shot Look Professionally Lit
Try Studio LightStudio Lighting Schemes
 Now let’s get into the different lighting schemes you can use in the studio. We’ll guide you on where to place your lights, the photography styles they suit, and include some extra tips along the way.
One-Light Setup
 Use for: Headshots, moody portraits, or product detail shots
Position the light at a 45-degree angle from the subject, either at their eye level or slightly above.
Tips: Use a reflector or a piece of white card to bounce light back onto the subject and fill in shadows

Two-Light Setup: Key + Fill
 Use for: Portraits, editorial shots, product photography
Place your key light at a 45-degree angle to the subject, with the fill light on the opposite side.
Tips: The fill light should be softer than the key to avoid creating a flat-looking image

Three-Light Setup: Key + Fill + Rim Light
 Use for: Portraiture, fashion, commercial photography
Use the key and fill lights as before, and add a rim light behind the subject to help separate them from the background.

Studio Lighting Styles
Over the years, many lighting styles and techniques have been developed to achieve the perfect shot. Some have become go-to methods in portrait and commercial photography. These tried-and-tested setups remain popular choices today.
Clamshell Lighting
 Use for: Beauty portraits, skincare, and clean commercial headshots.
Position your key light high and angled down. Then place a fill light or reflector below the subject, angled up towards the face.
Tips: Watch for symmetrical catchlights in the eyes to ensure even lighting.
Rembrandt Lighting
 Use for: Dramatic portraits with a timeless look.
Place your key light at 45 degrees and slightly above the subject. You’ll know the setup is correct when you see a triangle of light under the subject’s far eye.
Tips: This style is rarely used in commercial photography, but is ideal for more creative or artistic portraits.
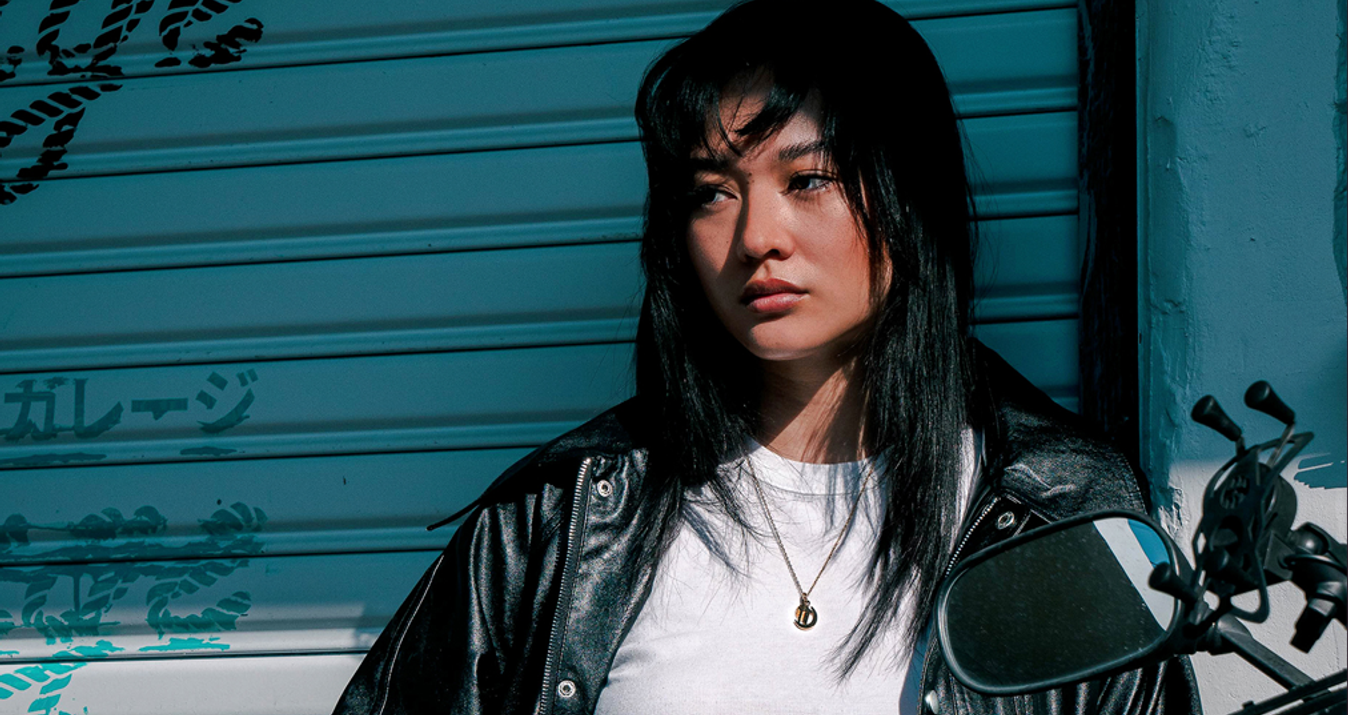
Split Lighting
 Use for: High-contrast, stylised portraits or bold product shots.
Position your key light at 90 degrees to the subject so that only one side is illuminated.
Tips: Use a fill light to reduce contrast if needed, or experiment with coloured gels on your key light to add creative flair.
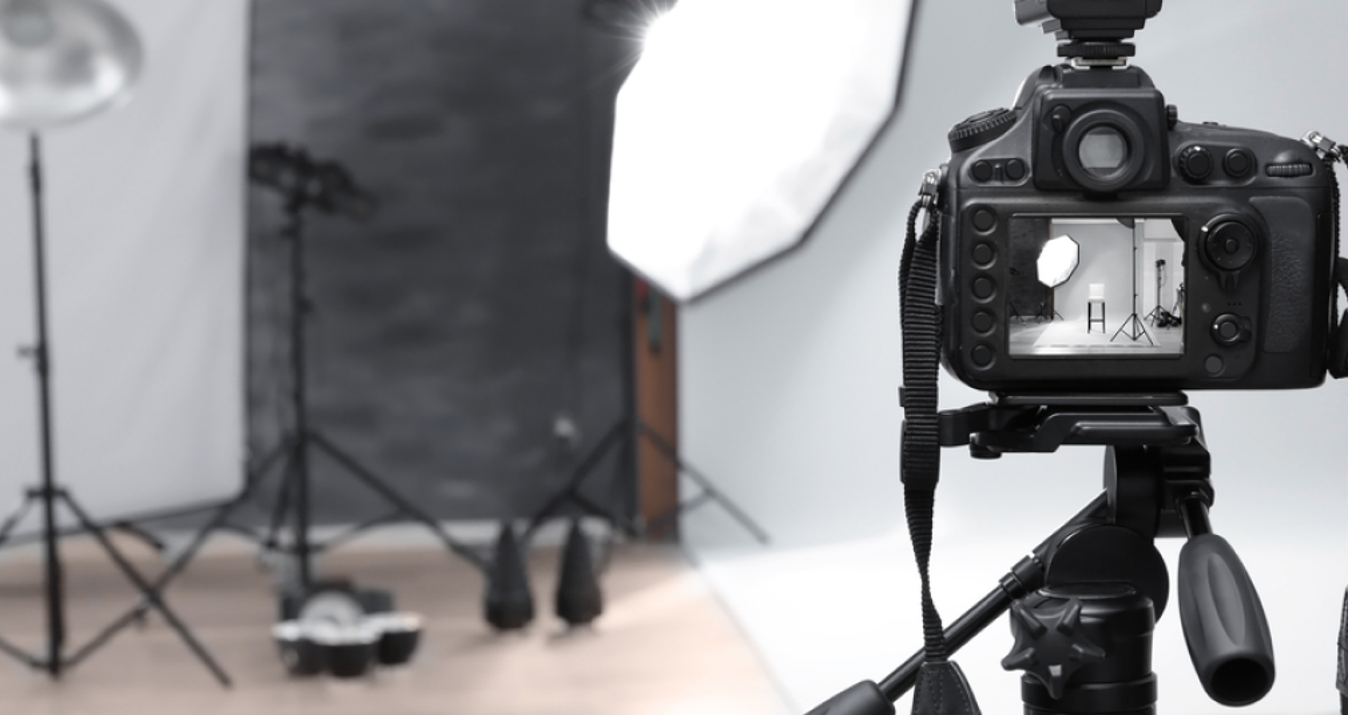
Strobe Lighting vs Continuous Lighting
 When you are browsing for lights to purchase for your studio, you may come across the terms strobe and continuous. Here’s a quick overview of the pros and cons of both:
Strobe Lighting
Pros | Cons |
Sharper images Strobe lights are more powerful, giving you crisper and sharper results. Details and textures, such as skin or product surfaces, will appear more clearly and look fantastic. | No live preview This can be tricky for beginners. You won’t see how the light looks until after taking the shot. However, with a bit of practice and study, you can quickly get the hang of working with strobes. |
Freezes motion If you're working on a shoot with movement or energy, strobes are a better choice. The high power output allows you to use faster shutter speeds, which helps minimise motion blur. | Requires triggers or sync cables If you're using more than one light, strobes need to be synchronised to fire together. This adds a little extra setup and cost. |
Continuous Lighting
Pros | Cons |
Live preview What you see through your viewfinder is exactly how the final image will appear. This makes it easier to compose and adjust the lighting before you shoot. | Lower power output Continuous lights are less powerful than strobes. To expose your scene correctly, you may need longer shutter speeds or a higher ISO, which can introduce grain and reduce image quality. |
Beginner-friendly You don’t need triggers or other accessories, which lets you focus on understanding lighting placement and technique. | Harder to freeze motion The lower light output means you’ll need to leave the shutter open longer. This is not ideal for shoots that involve movement or action. |
Overall, most professional studios prefer strobe lighting for its sharpness and clarity, especially for print and commercial work. However, continuous lighting remains a great choice for beginners, as it allows you to see results in real time and better understand how your setup affects the scene.
Hard Light vs Soft Light
Something else you may hear are the terms hard light and soft light. Both are widely used in studio photography, and knowing when to use them effectively will help you get the best results. Either can be used with any of the setups and techniques discussed in this article.
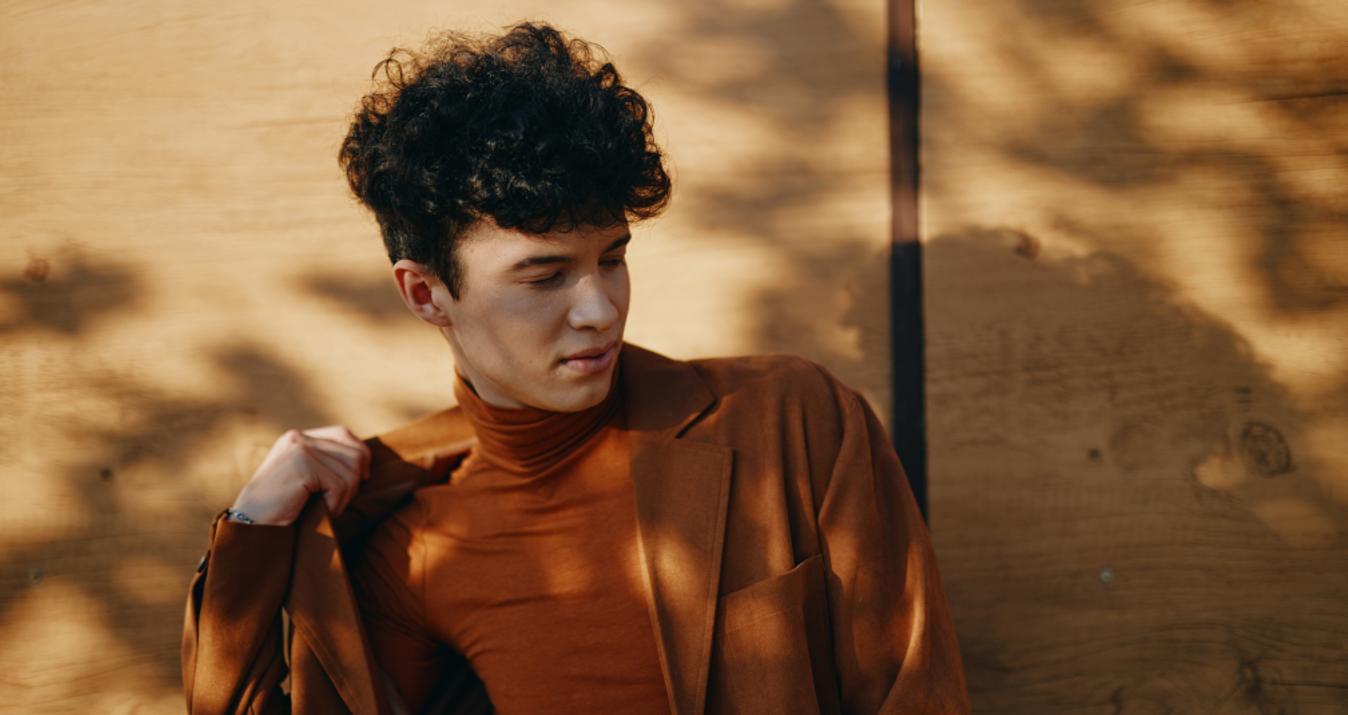
Hard Light
 When: Great for bold, high-energy portraits or striking product shots.
This is when the bulb is exposed, meaning no diffusion material such as a softbox or umbrella is used. If you want dramatic shadows, hard light is the way to go. It’s a style that has become more popular in recent years, offering bright, punchy shots with strong contrasts and deep shadows.
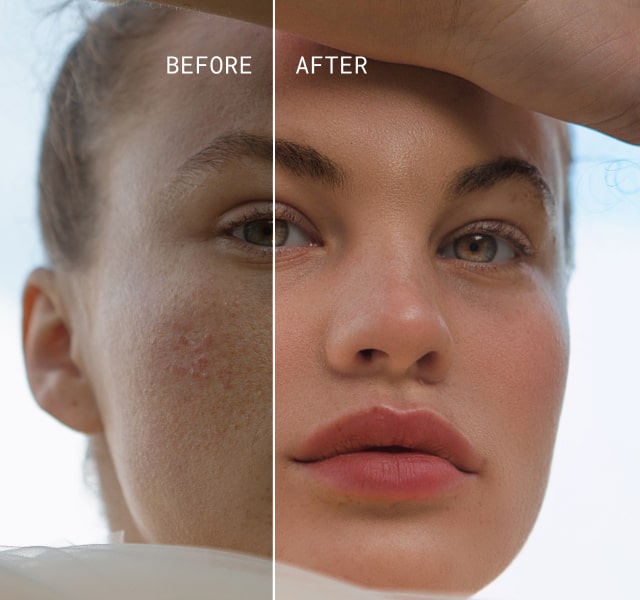
Any cons? Hard light can be challenging to work with. It tends to exaggerate blemishes on the skin, and the shadows may block out important detail. The intensity can also bleach colours. However, these issues can be managed if you're aware of them. Tools like Aperty, which is tailored for portrait retouching, can easily fix blemishes and help restore colour balance in post-production.
Soft Light
 When: Soft light is widely used across all areas of studio photography due to how easy it is to work with and how flattering it is on the subject.
This is when diffusion material is placed in front of the bulb, such as a softbox, umbrella or scrim, to spread and soften the light.
Soft light is extremely flattering, especially on skin. It casts evenly across the subject, reducing blemishes and smoothing out skin tones. Shadows are softer, and colours appear more saturated.
Any cons? The reduced shadows can sometimes make your image appear flat. This can be corrected in post-production by boosting contrast or adjusting lighting ratios in your setup. However, it’s usually not a major issue when using the lighting schemes discussed earlier.
Less Time Editing, More Time Creating
Try Aperty NowThe Bottom Line
Stepping into a professional photography studio can make any beginner’s head spin. There are so many different lights, each doing a specific job, and it can all look extremely complicated. However, with a bit of know-how, great results can be achieved using just one light and a reflector.
As you grow more confident, you may start adding more lights to your setup. Before you know it, you’ll have a solid, professional understanding of studio lighting and how to shape it to suit your style.