The Rule Of Thirds In Portrait: A Guide For Better Shots
August 06, 2025
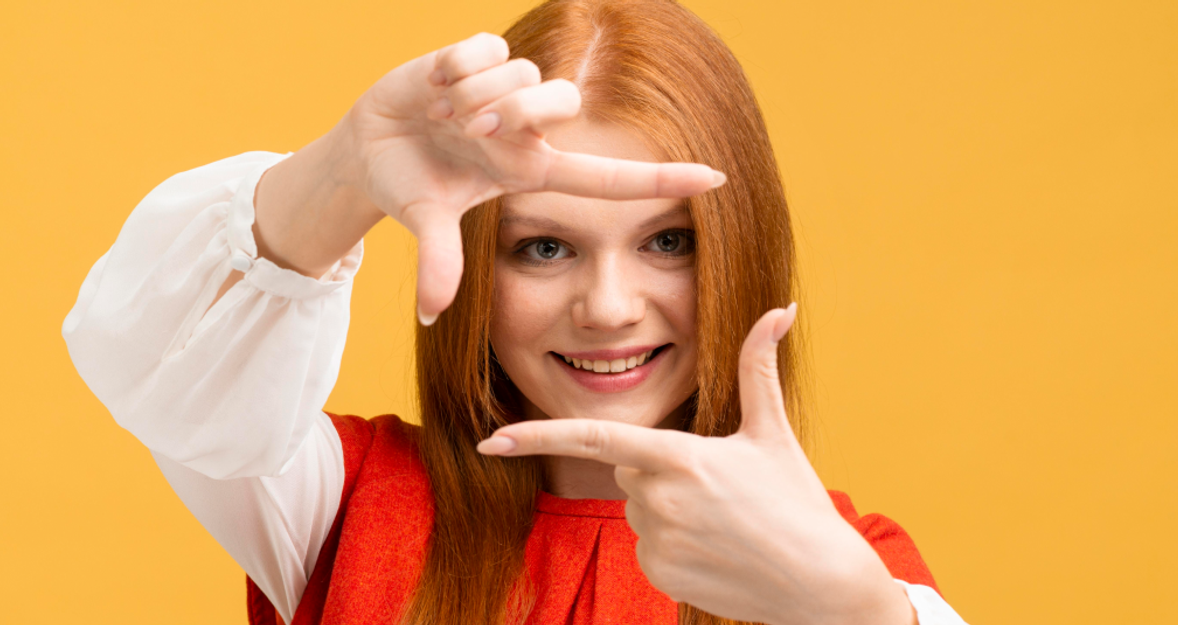
There are tried and tested methods in photography that simply look pleasing to the eye. Even someone who has never studied photography or had any real interest in it will still find certain photos more appealing than others, even if they can’t explain why. That’s because these techniques create balance and naturally guide the viewer’s attention to the right places in the frame.
The best part is that these compositional tools work across different types of photography, from landscapes to products and portraits. In this article, we focus on portraits and which rule of composition applies to portraits , showing how the rule of thirds can make your shots more impactful. We will also look at how to refine this technique in post‑processing so your portraits instantly draw attention to key features and have a polished, professional look.
Learn more: How to Create a Comfortable Atmosphere During Portrait Sessions
What is the Rule of Thirds in Photography?
 Before we look at how to use it in portrait photography, let’s define it. Imagine your photo divided into nine equal parts using two horizontal and two vertical lines. These lines create a 3x3 grid, which helps you compose a more balanced and engaging image.
Your Vision, Perfected – Bring Your Portraits to Life with AI
Try Aperty NowWhy Use the Rule of Thirds in Photography?
 The rule of thirds, like many other composition techniques, creates visual interest and naturally draws the viewer in. You might wonder why something asymmetrical would look more appealing than a perfectly centred subject.
Studies suggest that the human brain often finds odd numbers and asymmetry more engaging. It gives the image a sense of flow and makes it feel less static. This idea is also known as the rule of odds in photography and design. It encourages the viewer to spend more time looking at the photo, which is always a good thing.
That doesn’t mean you need three subjects in every frame. The rule of thirds works perfectly well with just one model, as you’ll see shortly.
Portrait Rule of Thirds: Why It Works
 Portrait photography benefits greatly from this technique. It can make your image more balanced, more dynamic, and more impactful. Here’s how:
Draws attention to the right place: In a portrait, the face is usually the main point of interest, and more specifically, the eyes. The rule of thirds helps you place the eyes in a position where the viewer will be drawn to them naturally. This gives your image an immediate connection.
Manages negative space effectively: When you have just one person in the frame, you might find yourself with a lot of empty space. That space can be useful for creating mood or focus, but it needs to be handled carefully. The rule of thirds helps you place your subject in a way that makes the negative space feel intentional and balanced.
Creates energy and movement: A portrait with the subject dead centre can feel very formal or static. By placing your subject off-centre, the photo feels more dynamic. It also gives the subject room to move into, which can make the composition feel more alive and interesting.
Top Tip
You don’t need to guess where the vertical and horizontal lines are in your composition. Most modern cameras let you overlay a grid on your screen, usually in a 3x3 layout, to help you position your subject and focal points more accurately. Check your camera settings to enable the grid. It’s just a visual guide while you shoot and won’t appear in your final image.
Rule of Thirds in Portrait Photography
Now, let’s explore some rule of thirds portrait examples and see how you can apply this technique to your next shoot.
The Classic Approach
Eyes on the Top Third Line
 One of the most effective ways to use the rule of thirds in portrait photography is by positioning the model’s eyes on the top third line. If your subject is turned, place their dominant eye where a vertical and horizontal line intersect. These are natural points of focus for the viewer and help create strong visual harmony.
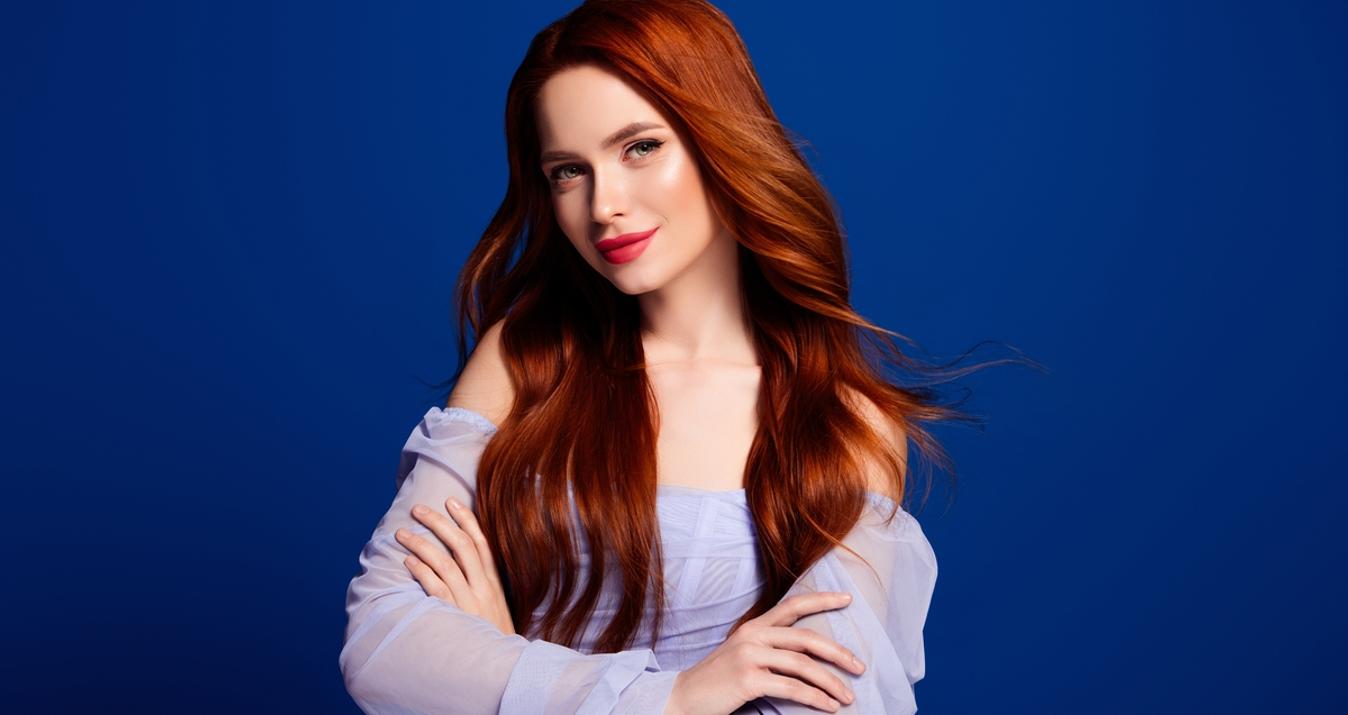
Off-Centre Framing
 Place your model along the left or right vertical third, intentionally leaving negative space in the rest of the frame. This technique, often seen in cinematography, creates space for the subject to move into and brings energy and flow into your shot. It also adds a cinematic feel, making the image more dynamic.
Shoulder-Lean Composition
 As with off-centre framing, place the subject on one-third of the image but have them lean slightly towards the centre. Keep their eyes on the top third line to maintain a strong composition.
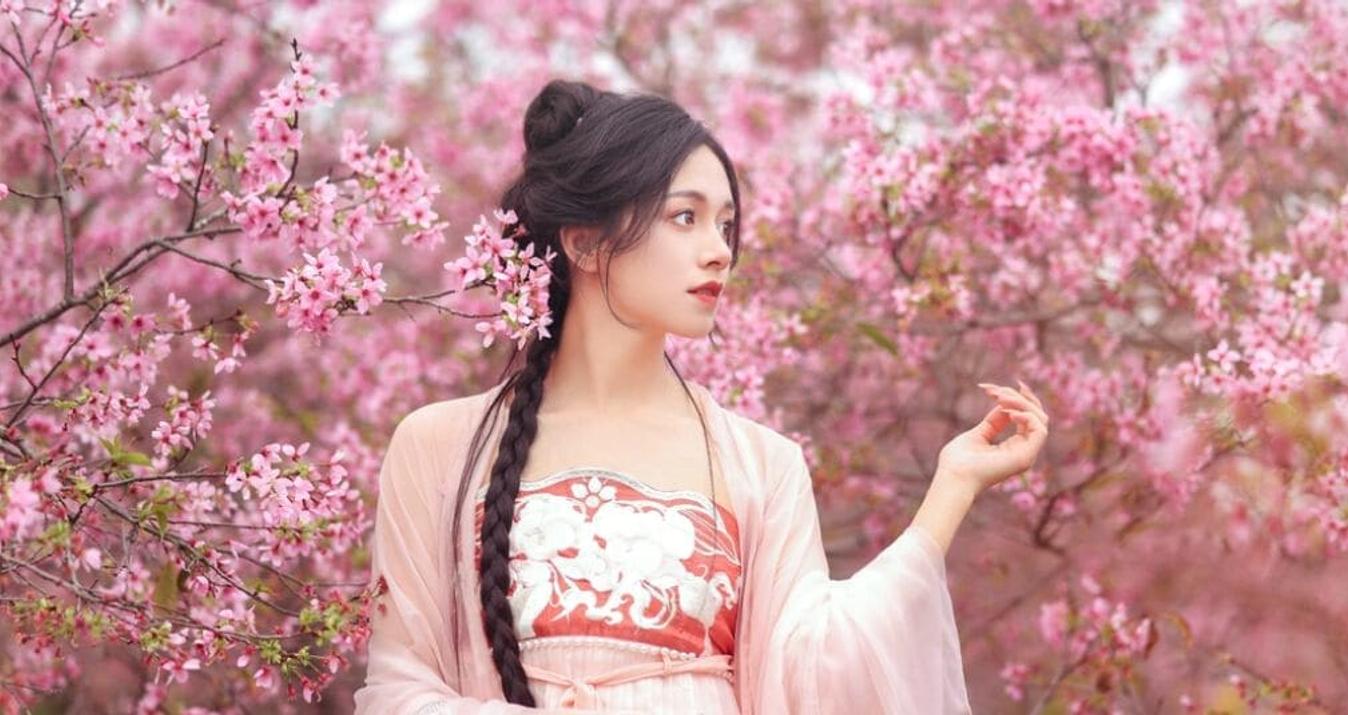
Walking into Frame
 If your subject is moving, leave negative space in front of them rather than behind. Position them on one side and have them face into the space. This opens the frame and makes the image feel more intentional and energetic.
Storytelling and Mood
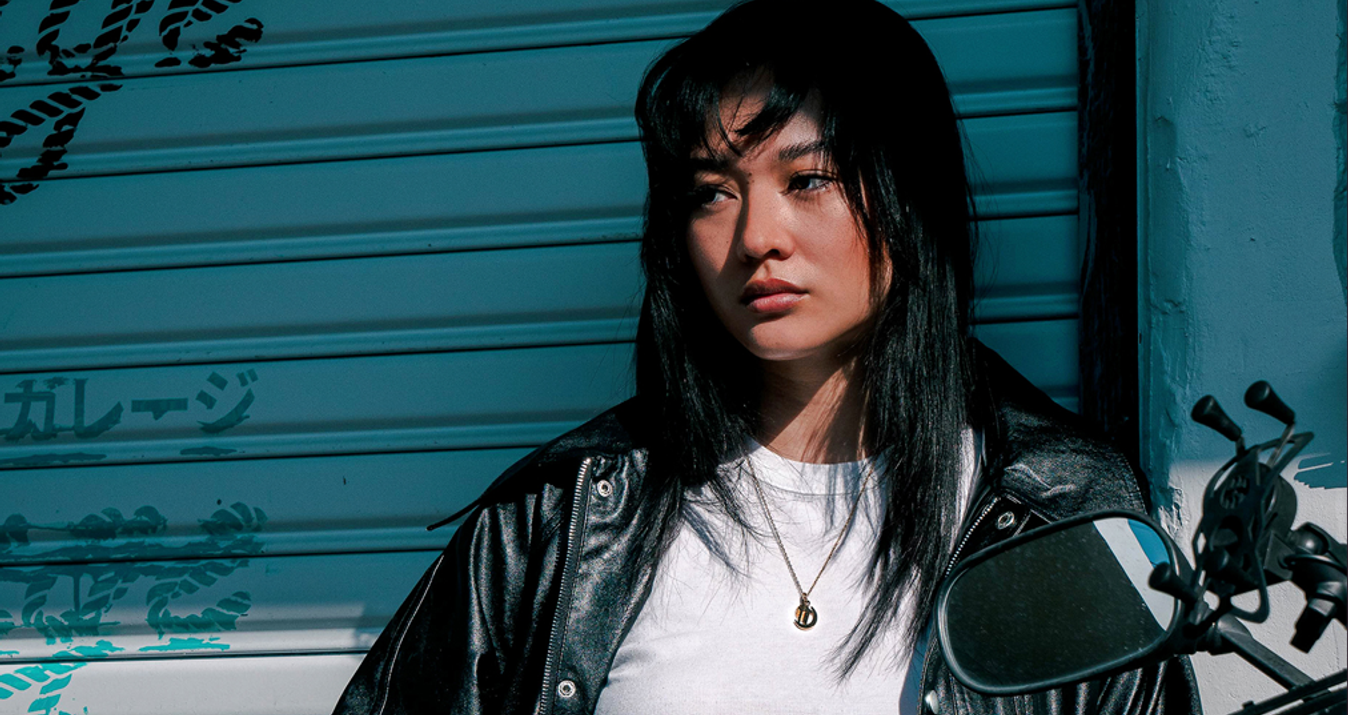
Looking Into Negative Space
 Having your subject look into empty space can enhance emotion and storytelling. This creates tension and depth, especially when the negative space adds context or supports the mood of your portrait. It also leads the viewer’s eye from the subject to the space they’re engaging with.
Environment Matters
 Don’t let your composition end at your subject. Strengthen your image by using the surrounding environment to reinforce the tone or story you’re trying to tell. The setting, colours, and background details should work in harmony with the pose, expression, and styling of your subject.
Key Features and Props
 If you’re using props, place them along the vertical or horizontal thirds or where these lines intersect. This placement ensures they’re immediately noticeable and contribute meaningfully to your image.
Creative and Stylised
Reflections
 Use mirrors, windows, or water to create a rule of thirds composition using reflections. You can place the subject on one third and their reflection on another, or position the reflection to build a more abstract or narrative-driven frame.
Foreground Blur
 Introduce blur or shadow in the foreground, especially in the bottom third of the frame. This creates depth and subtly guides the viewer’s eye into the image. It works particularly well for distant shots or outdoor scenes.
Group Portraits
 You can place group members along the vertical third lines, or use the group’s positioning to draw attention to one individual. Position supporting figures on the outer thirds and have them face inward toward your main subject. Make sure their eyes fall below the top third line, leaving that premium space for the person you want to highlight. If you’re working on professional or team photos, a corporate headshot photo editor can help refine these compositions in post‑processing, ensuring the focus stays exactly where you want it.
Extended Negative Space
 Instead of just placing negative space beside the subject, try placing it above. If you position your subject on the bottom horizontal third, the open space above can be used to showcase a dramatic sky or striking backdrop. When done well, this adds mood and style without weakening the composition.
Rule of Thirds for Portraits in Aperty
There are ways to apply the rule of thirds during the editing process if you missed the mark when shooting. We’ll use Aperty for this, as it’s portrait retouching software that lets you complete all your editing in one place.
Less Time Editing, More Time Creating
Try Aperty NowAperty Highlights
If you haven’t used Aperty before, here are some of its standout features and how they help you get professional results quickly:
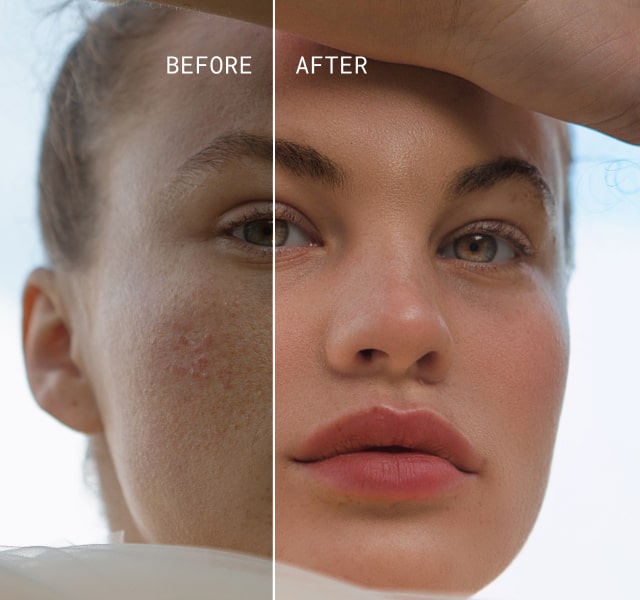
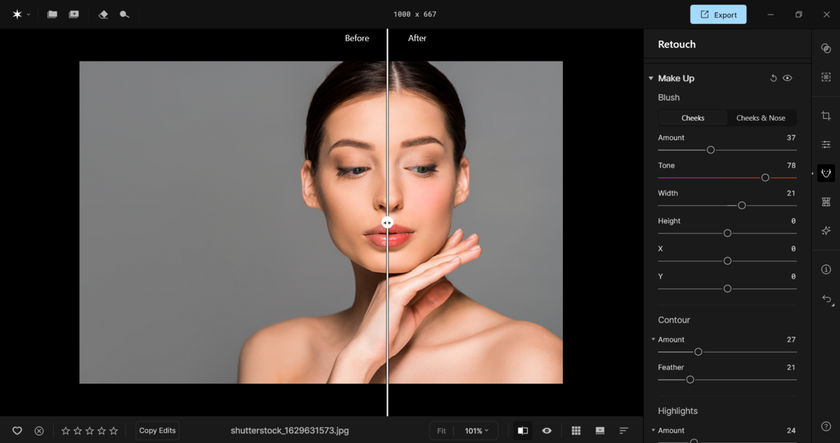
Retouching—Tedious tasks like removing blemishes, smoothing skin, and evening out tones can be done in a single click. Aperty automatically detects the areas to edit, focusing on preserving natural skin textures. This avoids the over-processed look and keeps your portraits looking high-end.

Make-up Application—No make-up artist on set? No problem. Aperty lets you apply realistic make-up in post-production. Tools like blusher, eyeliner, and contouring are fully customisable by strength, tone, and colour.
Resizing and Repositioning—The Reshape tools allow you to reshape the body and adjust facial feature size and placement. Each adjustment is strength-controlled, ensuring that you maintain realism while enhancing the portrait.

Creative Tools—No need to jump between programmes. Aperty’s Creative Tools menu includes standout features like the Light Source tool, which lets you add and reposition light and even change its hue. This gives you control over the mood and atmosphere of your image.

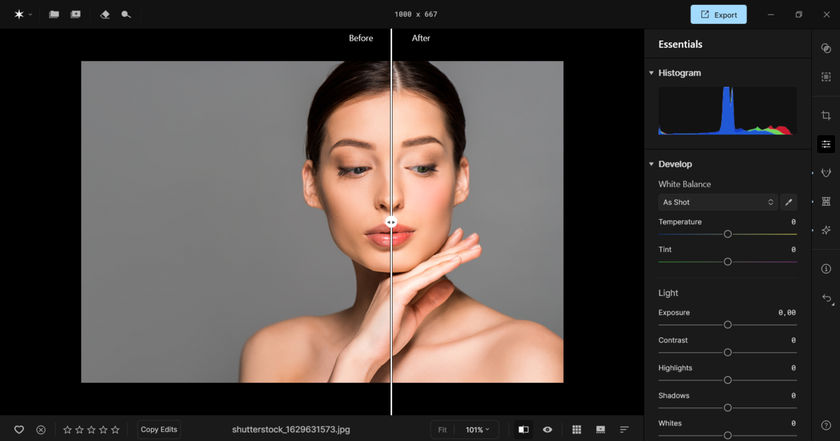
Essential Tools—Aperty covers your basics too, offering exposure, contrast, clarity and more. Structure helps bring out depth and detail, while the Tone Curve tool offers a hands-on approach for those who prefer manual editing.


Adding the Rule of Thirds
Applying the rule of thirds during editing is simple. Here’s how:
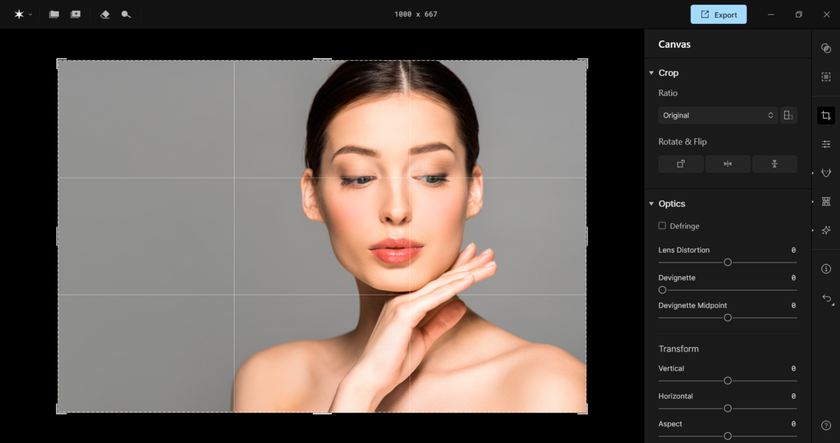
Open the Crop tool from the right-side menu (third option down).
A 3x3 grid will appear over your image, making it easy to line up key elements like the eyes along the grid lines.
Drag the image corners to adjust framing and position your subject perfectly using the rule of thirds composition.

The Bottom Line
 The rule of thirds is a powerful tool for creating strong compositions that feel complete and naturally draw attention to your subject. By using the in-camera grid, you can easily line up key areas of interest, such as the eye at the intersection of vertical and horizontal lines. This helps direct the viewer’s focus and delivers an immediate impact.
Remember, the rule of thirds doesn’t only apply to your subject’s face. The background also plays a role in your composition. You can use negative space creatively or for storytelling, adding more meaning and mood to your shot. If you’re trying this technique for the first time, keep these tips in mind and see just how much it can enhance your portraits.