How To Remove Eye Bags On Photos For A Well-Rested Look
April 01, 2025

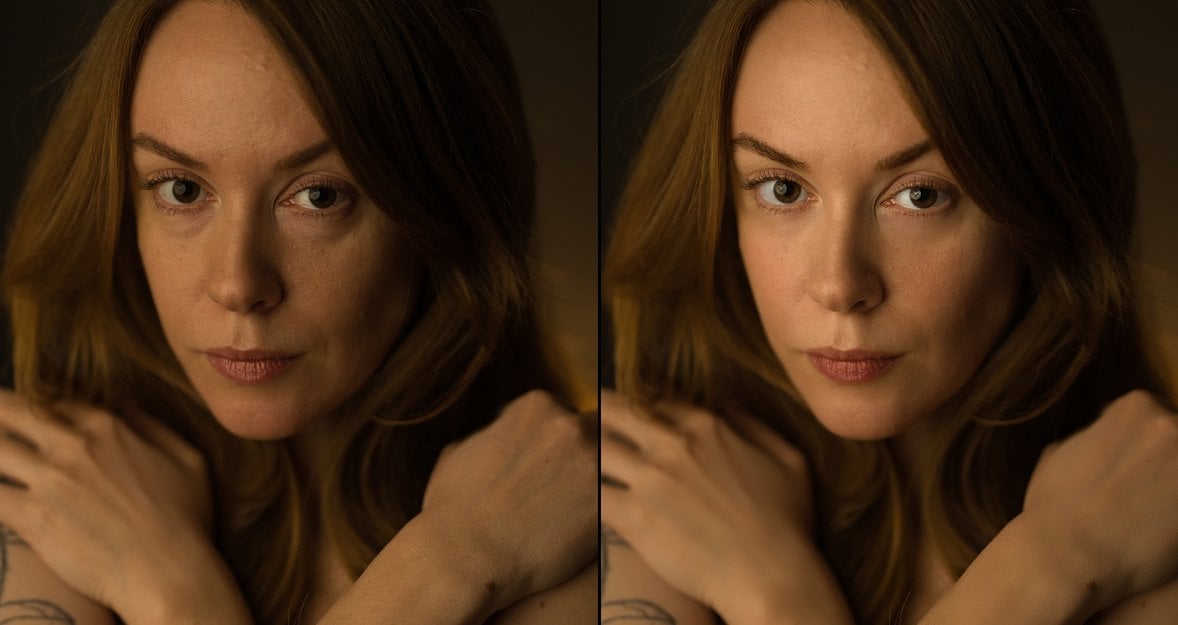
Are eye bags wrecking your picture-perfect moment? Why not edit them out?
We’ve all been there—taking a picture after a long day or a sleepless night and then noticing those unwanted bags under our eyes staring back at us. They can make you look tired when you feel okay. The good news is that you don’t need to be a professional editor or photographer to fix this.
You can eliminate eye bags from photographs with the right equipment and by following simple steps to achieve that radiant, rested complexion. This article will take you through quick, step-by-step processes to smooth those under-eye dark circles and brighten up your photos.
Why Eye Bags Show Up in Photos
Before diving into the how-to, let’s quickly understand why eye bags show up in photos. They’re usually a product of shadow from light, puffiness from lack of sleep, or even the natural shape of your face. Cameras like accentuating these features, especially in harsh light or at an unflattering angle. Erasing them doesn’t mean erasing you—it’s all about optimizing your photo to match the way you feel inside.
Step 1: Upload Your Photo
 First, you must open your photo using the editing tool. If you are using Aperty, here is how: launch the app and click “Add images” in the top left corner to load your picture to a new project. Dragging the file in or browsing your gallery are both easy ways to do it. After it has been uploaded, you can get into the fun of editing.
Step 2: Target the Under-Eye Area
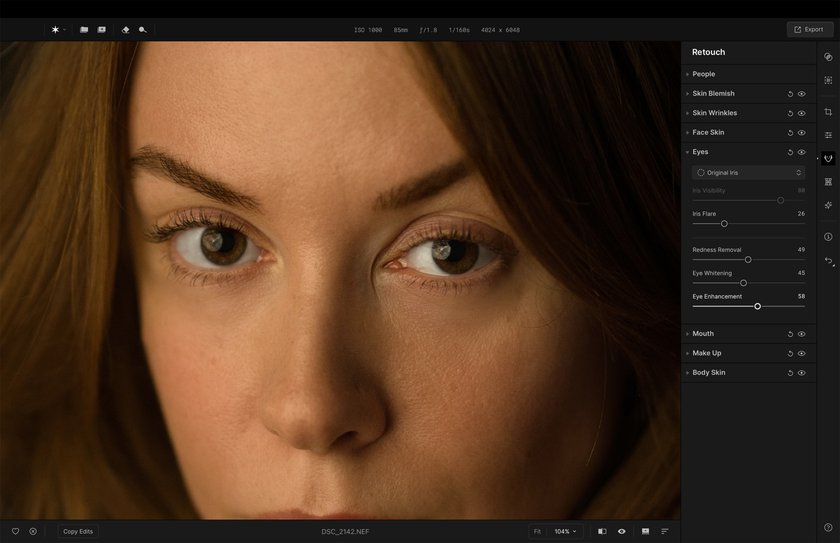
 Most editing tools have a retouching section designed for faces. In Aperty, head to the right-hand settings panel and click the “Retouch” tab. Look for the “Face Skin” section—this is where the magic happens.
You’ll see an option called “Dark Circles Removal.” This tool is specifically built to tackle those shadowy bags under your eyes. Slide the adjustment bar slowly until the dark circles start to fade. Don’t turn it up too much—you don’t want the result to resemble a plastic doll but rather to appear natural.
Step 3: Brighten the Face
 Eye bags stand out more if the rest of your face also looks dull. Stay in the “Face Skin” tab and find the “Face Brighten” slider to balance that out. Push it slightly to even out the skin tone over the entire face. This perfects the appearance so that the under-eye correction blends well with the rest of your appearance. Adding some brightness makes the difference between getting that rested vibe.
Step 4: Fine-Tune with Other Tools
Sometimes, it isn’t possible to eliminate eye bags alone—you might need to smooth the skin a bit more or change the lighting. Most apps, including Aperty, have further options such as skin-smoothing or contrast adjustments. For a deeper dive into enhancing eyes beyond just bags, check out A Guide To Eyes Retouching For Natural-Looking Photos. It’s packed with tips to keep your edits subtle and realistic.
Step 5: Save and Share
When you’re satisfied with your edits, save your photo by pressing the export button. This editor lets you choose your preferred file type and quality, so your image looks good whether you’re posting it online or printing it out. Now you have a polished portrait, ready to share with pride.
Adding a Touch of Makeup (Optional)
 Want to take it a step further? Aperty allows you to add digital makeup to look even more stunning. A makeup picture editor can add concealer or highlighter underneath the eyes to conceal any leftover shadows. It’s as if you’re wearing makeup without getting messy—just a few clicks and your photo is done. Use sparingly to avoid an over-the-top look.
Tips for Natural Results
Finding the best way to remove bags from under eyes on photos means keeping it real and subtle. Here are some useful tips:
Don’t over-smooth. Avoid excessive skin smoothing to keep it as natural as possible.
Check lighting. Balance under-eye edits to the total light of the photo for seamless blending.
Zoom out. Check out the whole image to prevent edits from looking patchy.
Compare the original. Get a glimpse of the unedited photo to stay true to your natural look.
Use subtle brightening. Lighten your eyes gradually—too much looks unnatural.
Avoid heavy filters. Refrain from dramatic effects that overshadow the face edit.
Test on one eye first. Edit one side, then replicate the other for balance.
Keep skin tone consistent. Adjust the entire face if needed, not just the under-eyes.
Practice with sliders. Try lightly to find what is best.
These steps ensure your edits beautify your natural look rather than drastically change.
Advanced Option: Eye Editor Tool

If you need more control, an eye editor will sharpen bags and the entire eye region. You can adjust brightness, sharpness, or even eye color if you want to mess around. That’s overkill for removing bags, but it’s a good way to get a feel for things after you’re comfortable with the basics.
Why Realistic Edits Matter in Photos
Realistic edits keep your pictures looking like you, not a cartoon character. Overly excessive changes—such as removing all lines or radiant-proofing eyes—make photos look artificial and uncouple them from the real world. Subtle touch-ups, such as getting rid of under-eye bags, boost your natural energy without redoing your face.
People connect with authenticity. A photo that’s too perfect can seem cold or staged. Plus, realistic adjustments blend in with light and tone without that recognizable “edited” look. When you aim for balance, your photos appear the way you’re feeling—fresh and revitalized—and still portray the real you. It’s about enhancing, not redoing.
Wrapping Up
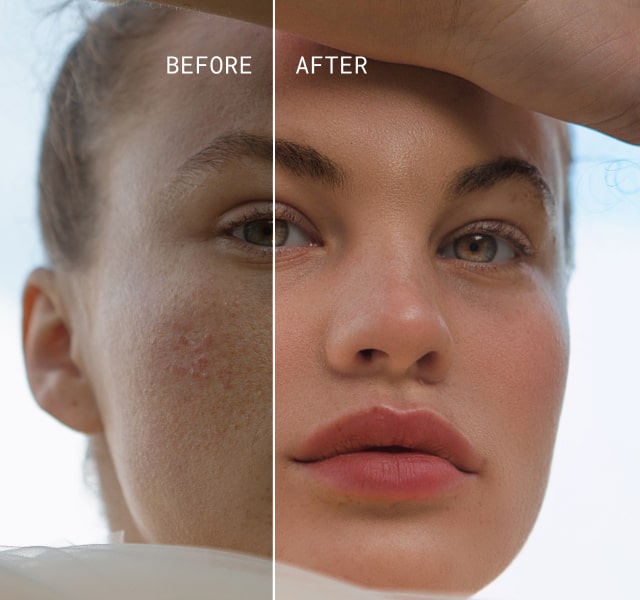
Removing eye bags from photos is a quick way to look refreshed, and with Aperty, it’s simple. No tricky skills are needed—just a few clicks to soften shadows and brighten your face. Knowing how to get rid of bags under eyes in pictures can turn a drowsy photo into one that crackles with energy.
Tools like “Dark Circles Removal” enable you to keep edits looking natural and real. The following time you click a photo and notice those bags, open Aperty and fix them instantly. You’ll love the new, rested look without losing yourself.


