Mastering Studio Lighting for Portrait Photography: Tips and Tricks
December 24, 2024
Studio photography can feel quite daunting to new photographers. There's more equipment to manage, and often more people to work with, including hair and makeup artists, assistants, and sometimes even directors. But at the heart of every successful studio shoot is one critical component: lighting. Without effective lighting, even the most carefully styled shoot can fall short. Perfect wardrobe, makeup, and smooth teamwork can’t compensate for mishandled lighting, which can make or break the final result.
That’s why we’ve created this handy guide for you to get to grips with lighting, covering terminology, techniques, and practical tips to ensure your lighting brings out the best in your portraits. Let’s get started!
Studio Lighting Basics
 Before we jump into specific techniques, it's essential to understand some foundational terminology in studio portrait photography. These terms will be used throughout this guide, so let’s break them down.
Key Light | The primary light source in your setup, providing the main illumination on your subject. |
Fill Light | This light softens or reduces shadows created by the key light, helping to achieve a balanced look if shadows are too intense. |
Rim Light | Positioned behind or to the side of the subject, this light defines the subject’s outline, helping to separate them from the background for added dimension. |
Background Light | Dedicated to illuminating the background, this light can bring out details or create depth, enhancing the overall image. |
Light Modifiers and When to Use Them
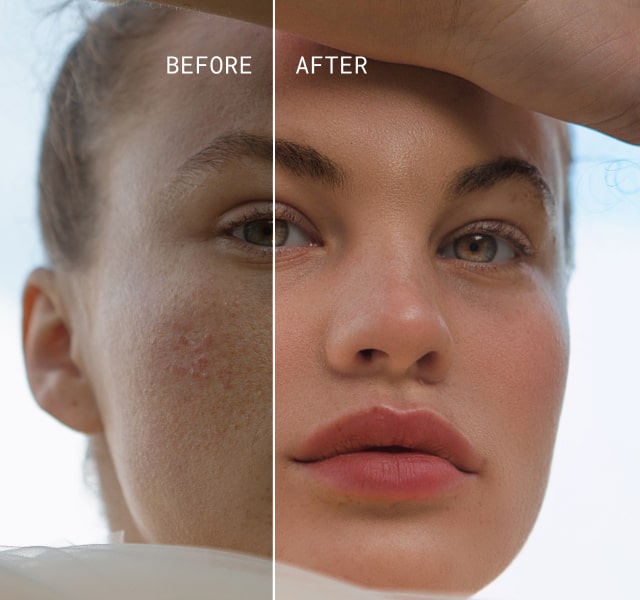
Light can be modified in various ways to achieve different effects, depending on the look you want for your portrait. Using an unmodified light source produces a harsh, bright light with strong shadows and high contrast, which can create striking visuals. However, this type of lighting can make blemishes more visible, which may require extra post-processing.
For a softer, more flattering look, light modifiers are commonly used in studio photography, as they soften shadows and help focus the light in a way that highlights the model’s best features.
Your Fully Illustrated Portrait Guide —Free!
Enter your email below and get it instantly!
Check your email—the guide is all yours!
We hope you’ll love the portrait references and find them super useful. Get inspired, snap your shots, and let Aperty help you bring your vision to life. We’re so excited to see what you’ll create!
Let’s explore how to add light to a photo using the most popular light modifiers in studio and their applications.
Softboxes
Softboxes are positioned over a light source to diffuse its intensity, creating a softer, more flattering light on the model. They help to focus this softer light directly onto the subject, making them ideal for close-up portraits where a natural, even glow is desired.
Umbrellas
Ideal for creating a wider spread of soft lighting in a small area, umbrellas soften the light over both the model and the surrounding scene. This modifier is less focused than a softbox, making it suitable for lighting broader areas or group shots.
Beauty Dish
Often used in beauty and fashion photography, a beauty dish provides a unique mix of soft and hard light that accentuates facial features. It doesn’t soften the light as much as a softbox but offers a flattering, striking effect that’s perfect for detailed, high-contrast portraits.
Grids, Barndoors, and Snoots
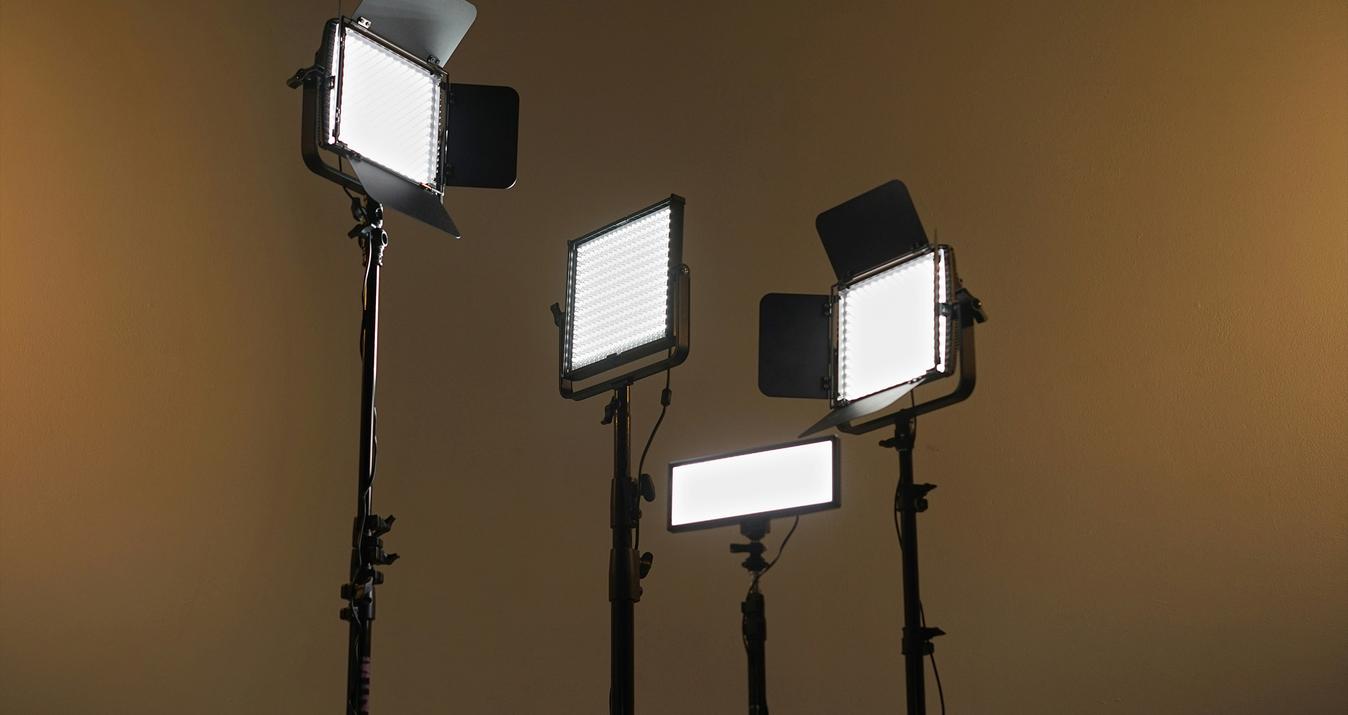
For photographers wanting precise light direction, these modifiers are invaluable. They allow for fine control over where the light falls in the scene. Grids focus light into a narrow beam, barndoors provide adjustable light control, and snoots create a tight spotlight effect, each allowing photographers to highlight specific parts of the subject or scene.
Lighting Techniques
 There are many different lighting techniques that photographers can use, but some staples are relied upon by everyone from amateurs to large productions for magazines and billboard advertisements.
Bounce Light: This technique involves bouncing light off a surface, like a reflector or wall, to fill shadows and soften highlights. It creates a softer, more diffused light that evenly illuminates your subject.
Clamshell Lighting: This setup uses two light sources, a key light placed above the subject and a fill light positioned below, angled up. Together, they fill in any shadows on the face, resulting in soft, flattering light that highlights the subject’s features.
Butterfly Lighting: Named for the butterfly-shaped shadow it creates under the nose, this technique places the key light directly in front of and slightly above the subject, angled down at about 45 degrees. It’s often used for glamorous, classic portraits that flatter facial contours.
Rembrandt Lighting: Known for its moody effect, Rembrandt lighting is identified by a small triangle of light under one eye on the shadowed side of the face. Position the light at a 45-degree angle to one side of the subject and slightly above, casting distinct light on one side while creating deeper shadows on the other.
Split Lighting: With only one light source positioned to the side of the subject, this technique illuminates one half of the face while leaving the other in shadow. It’s ideal for creating dramatic, mysterious portraits.
Loop Lighting: This setup provides balanced highlights and shadows, with a small shadow cast by the nose and a subtle circular highlight on the cheek. Position the light at about a 45-degree angle to the subject and just above eye level, casting light that contours the face gently.
Remember: Just because these lighting techniques mention only one or two lights doesn’t mean you can’t add more as needed. For instance, you might use a fill light to soften shadows, or a rim light to help separate the subject from the background if desired.
Lighting Ratios
 Lighting ratios are a fundamental concept in studio photography. They help photographers understand the balance of light falling on different parts of a subject’s face, primarily between the key light and the fill light. This balance is measured in ratios and stops, which are crucial for achieving the desired mood and effect in portraits.
Quick Key Terms Recap
Key Light – Your primary light source.
Fill Light – A secondary light source to soften or fill in shadows.
Light Ratio – The balance of light between the key light and fill light.
Stops – Measurement of light reaching the sensor, used to quantify the difference between light sources. (Example: If the key light is twice as bright as the fill light, it is a one-stop difference; if it’s four times as bright, it is a two-stop difference.)
Each lighting ratio creates a different aesthetic, allowing photographers to convey specific moods.
Common Ratios and When to Use Them
1:1 Lighting Ratio: The key and fill lights are of equal intensity, producing even lighting with minimal shadows. This flat, soft lighting effect is ideal for beauty photography due to its flattering nature.
2:1 Lighting Ratio: The key light is twice as bright as the fill light, a one-stop difference. This introduces soft shadows, creating a natural, flattering look perfect for portraiture.
3:1 Lighting Ratio: With the key light three times as bright as the fill light (around 1.5 stops), shadows become slightly more pronounced, adding depth and interest without excessive contrast. Rembrandt lighting techniques are often used effectively at this ratio.
4:1 Lighting Ratio: Here, the key light is four times stronger than the fill light, a two-stop difference. This ratio enhances shadows for a more dramatic effect, adding an artistic edge to portraits while still preserving enough detail for Rembrandt-style lighting.
8:1 Lighting Ratio: Often the upper limit for standard portraiture, the key light here is eight times brighter than the fill light, creating deep shadows with minimal detail (four stops). This high-contrast effect is ideal for moody, artistic portraits. Be mindful, as very high contrast may cause shadow noise, depending on the camera sensor.
If lighting ratios and stops feel overwhelming, don’t worry. Over time, this becomes more intuitive, allowing you to choose lighting ratios naturally without overthinking. If you’re just beginning, focus first on mastering basic lighting setups and techniques. Lighting ratios will soon follow as you gain confidence in the studio.
Choosing the Right Lighting Setup for Different Portrait Styles
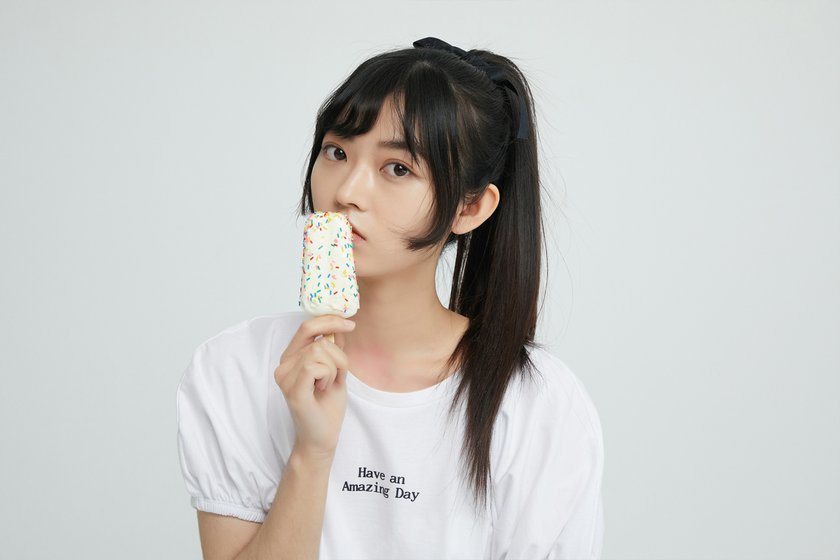
Let’s explore the best lighting techniques, sources, and modifiers for different portrait styles. Use this guide as a starting point, but don’t hesitate to experiment with lighting positions, modifiers, and techniques to see how various setups can transform your subjects.
Classic Portraits
Classic portraits benefit from simple lighting with a balanced 2:1 lighting ratio, introducing subtle shadows for depth and dimension.
Modifiers: Softboxes are ideal for diffusing light, creating a soft, flattering look.
Key Light Position: Place the light at a 45-degree angle to the subject and slightly above eye level. Experiment with butterfly lighting, using a fill light to soften any harsh shadows.
Beauty Photography
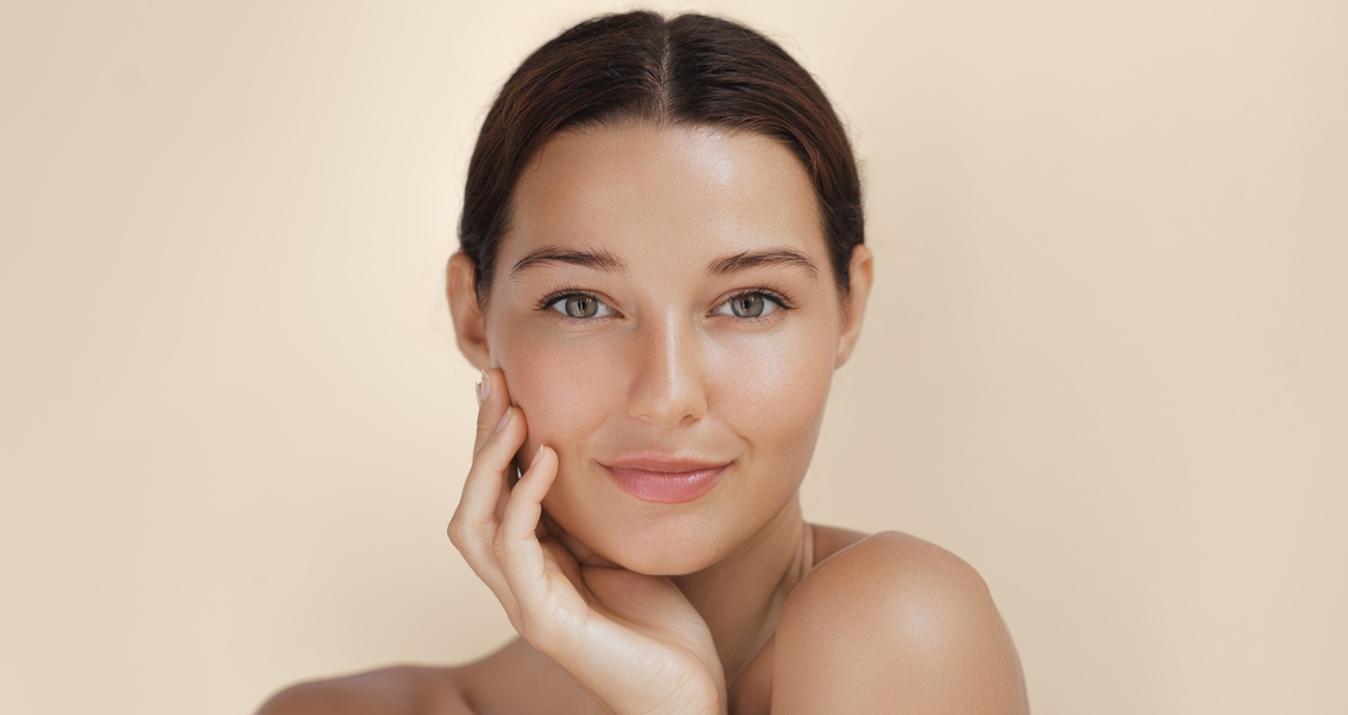
Beauty photography focuses on soft lighting that enhances facial features and reduces blemishes. This style generally avoids shadows, so aim for a 1:1 or 2:1 lighting ratio.
Modifiers: A beauty dish helps bounce light back onto the subject, providing soft, flattering illumination that enhances contours and skin texture.
Key Light Position: Place the light directly in front and above the subject, angled downward at about 45 degrees. Add a fill light below the model to fill in any shadows.
Lifestyle Portraits
Lifestyle portraits aim to mimic natural lighting, so softer, more subtle shadows are desirable. A 2:1 lighting ratio usually works well for this style.
Modifiers: Softboxes and diffusers create gentle, natural-looking shadows for a relaxed and realistic effect.
Key Light Position: Position the light slightly above or at an angle to the subject to maintain soft, natural shadows that create a comfortable and authentic look.
Editorial or Fashion Portraits
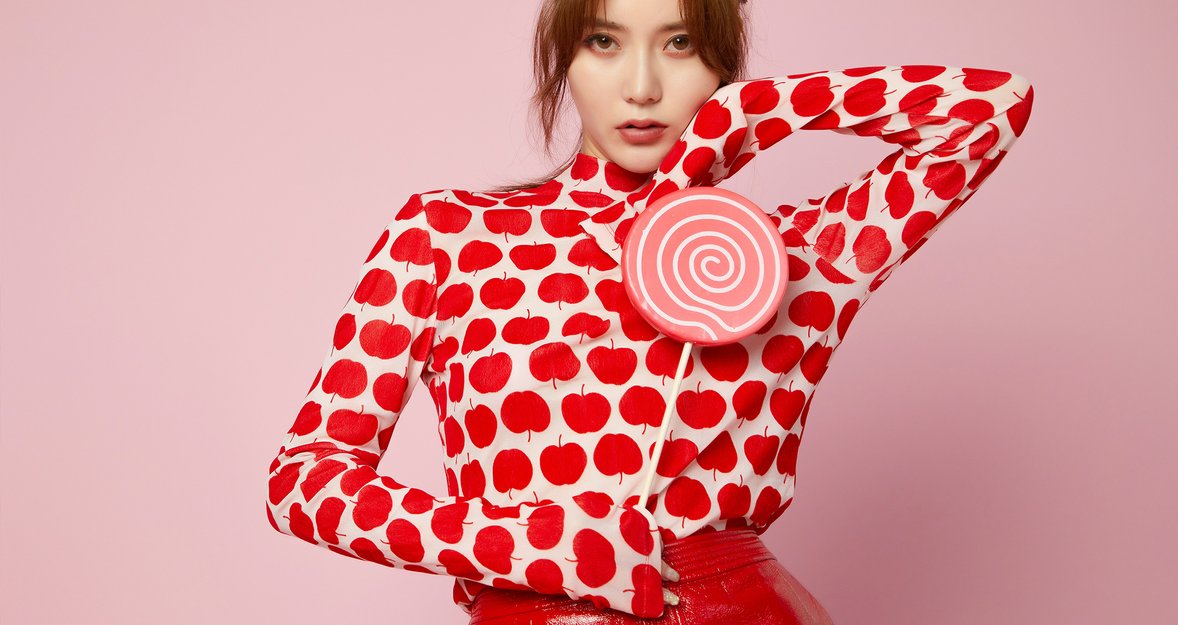
Editorial and fashion portraits allow for more creative freedom with lighting. Try various lighting ratios such as 3:1 or higher to add drama and artistic flair.
Modifiers: Use a variety of modifiers like barndoors, grids, snoots, and even gels to achieve different moods and effects. Coloured gels add an artistic twist with coloured lighting.
Key Light Position: Experiment with different techniques, such as Rembrandt lighting or rim lighting, to define your model’s outline and add intensity. There are no strict rules here so let your creativity flourish!
The Bottom Line
Stepping into a studio for the first time can feel overwhelming. With so much equipment and new terminology, it’s hard to know where to begin. Hopefully, this guide has clarified some essentials and made studio lighting feel more approachable. Start with basic setups to get a sense of how lighting shapes a portrait, and gradually explore more advanced techniques as you gain confidence.
Top tip: Bring a friend to the studio, and instead of aiming to capture perfect photos, focus on experimenting with different light positions and modifiers. Observe how each setup affects your subject’s face, without the pressure of delivering finished results. This hands-on practice will build your knowledge and comfort level with studio lighting.
So head out there, enjoy the process, and soon enough, you’ll be confidently setting up your studio like a pro. Good luck!
