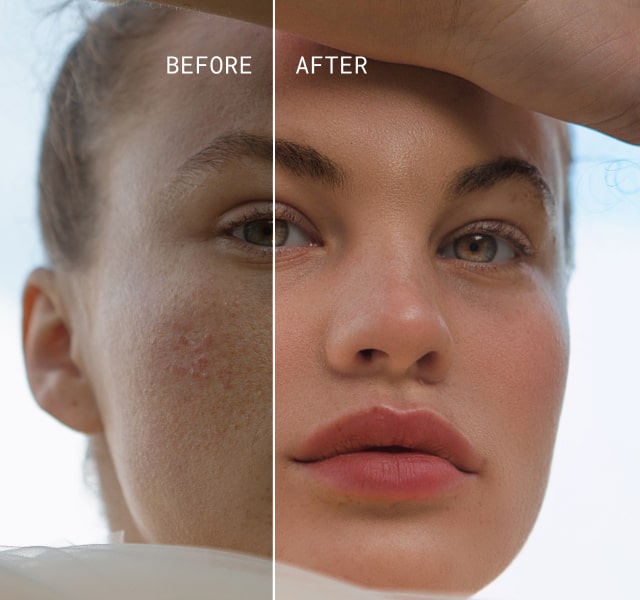
Éclairage de Portrait : Éclairez vos Photos comme un Pro
May 16, 2025
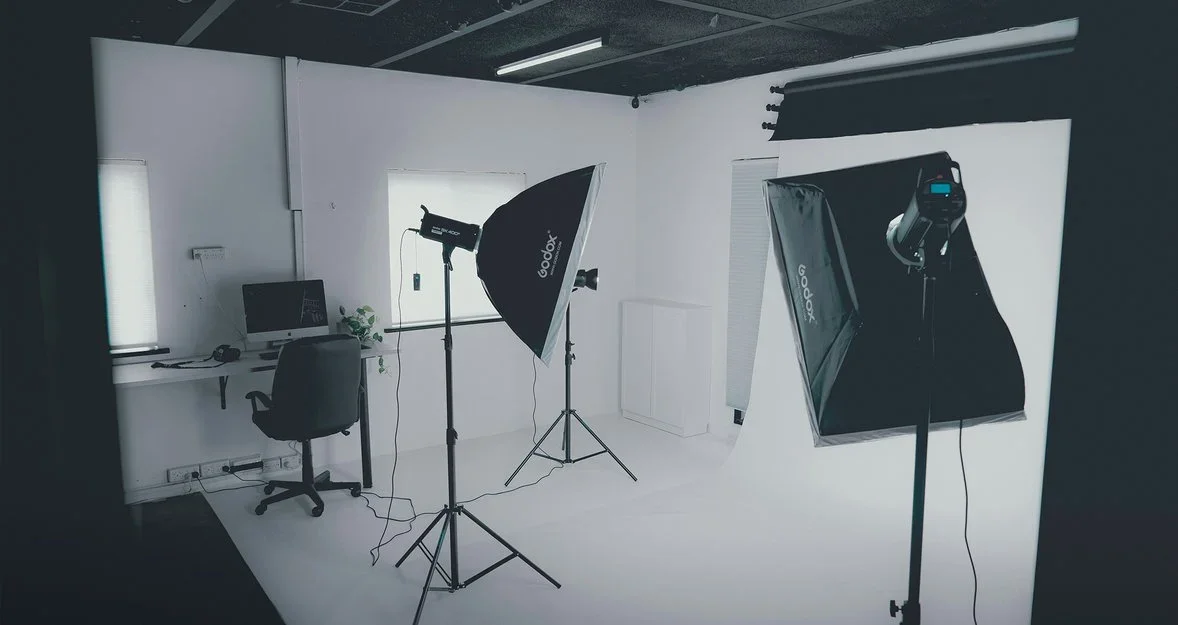
L’art de la photographie de portrait implique de nombreux facteurs : les thèmes définis par le photographe, les poses du modèle, sa tenue vestimentaire et son maquillage, l’environnement, ainsi que les accessoires utilisés pour la séance. Parmi tous ces éléments, un aspect clé relie l’ensemble de la séance, garantissant un rendu de haute qualité, net, et mettant en valeur les détails essentiels : l’éclairage.
L’éclairage est crucial et peut véritablement transformer vos images, leur conférant une touche professionnelle qui les distingue du lot. Pour les débutants, l’idée d’entrer dans un studio rempli d’équipements peut être intimidante, sans parler de l’apprentissage des techniques. Mais pas d’inquiétude : une fois les bases maîtrisées, cela devient en réalité assez simple.
Dans ce guide, nous allons explorer différents types d’éclairage et de techniques, y compris comment positionner les sources lumineuses pour la photographie de portrait inhabituelle, et le rôle de l’éclairage dans la création de portraits originaux et saisissants. Commençons !
Le rôle de l’éclairage dans le portrait
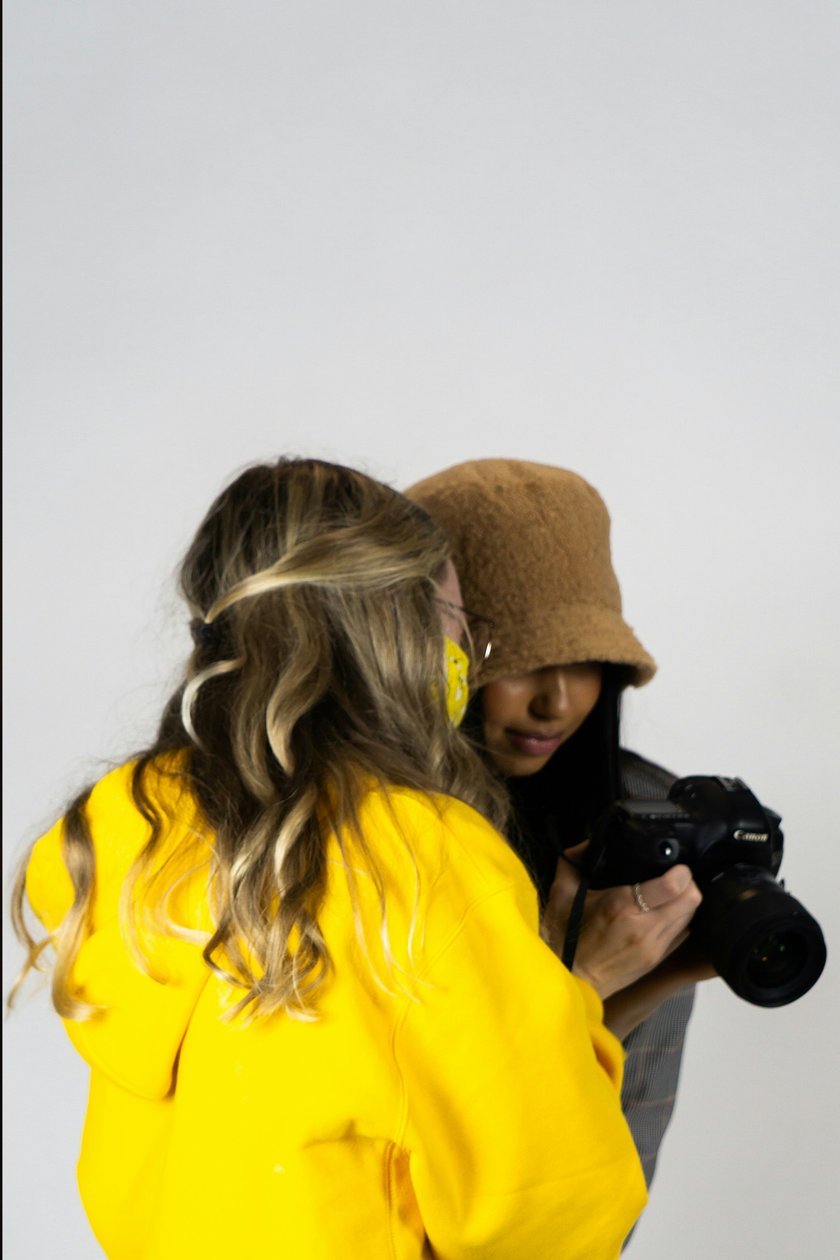
L’éclairage ne se contente pas d’illuminer votre scène ; il raconte une histoire, instaure une ambiance, et met en évidence certains traits. Nous allons examiner différentes techniques d’éclairage qui peuvent complètement modifier l’atmosphère de votre image en fonction de la façon dont la lumière est orientée sur votre modèle. Un éclairage bien maîtrisé élève la qualité de vos portraits, leur donnant cette finition professionnelle recherchée.
Moins de temps à éditer, plus de temps pour créer
Essayez Aperty maintenantÉclairage en studio
Lorsqu’il s’agit de photographie de portrait à domicile, l’éclairage en studio constitue la solution idéale pour obtenir des résultats soignés et professionnels. Comprendre les avantages et les inconvénients de l’éclairage en studio vous aidera à créer des portraits remarquables dans un environnement parfaitement maîtrisé.
Avantages
- Contrôle total : Vous contrôlez précisément votre éclairage, ce qui vous permet d’obtenir des résultats cohérents, facilement reproductibles lors de nouvelles séances.
- Polyvalence : Une grande variété d’ambiances peut être créée dans un seul et même espace contrôlé.
- Indépendance vis-à-vis de la météo : Les séances ne sont pas perturbées par les conditions météorologiques, ce qui évite les reports.
- Aucune contrainte horaire : Vous pouvez photographier à tout moment de la journée et aussi longtemps que nécessaire, sans dépendre de la lumière naturelle.
- Résultats professionnels : L'éclairage de studio pour les portraits permet d'obtenir des images plus nettes et plus soignées que les clients attendent...
Inconvénients
- Coût : Le matériel d’éclairage en studio peut être onéreux, surtout si vous visez une installation complexe.
- Courbe d’apprentissage : L’éclairage en studio demande un certain apprentissage et de nombreuses expérimentations avant d’atteindre des résultats professionnels constants.
- Besoin d’espace : Louer un studio ou en aménager un chez soi représente un défi logistique et financier.
- Rendu artificiel : Obtenir un rendu naturel ou réaliste peut nécessiter de nombreux ajustements. Un éclairage trop « parfait » peut nuire à l’authenticité des portraits de style lifestyle.
Éclairage en extérieur
L’éclairage en extérieur est souvent privilégié par les débutants en raison de sa facilité d’accès et de la beauté naturelle qu’il confère aux portraits. Il offre des opportunités dynamiques pour des clichés créatifs, sans nécessiter de matériel coûteux — une excellente porte d’entrée pour ceux qui débutent en photographie. Cependant, il exige souplesse et planification rigoureuse pour pallier ses contraintes.
Vous pouvez aussi aimer : Photographie de portraits en extérieur : Capturer des images parfaites
Avantages
- Lumière naturelle : Parfaite pour les clichés lifestyle, la lumière naturelle offre un rendu réaliste difficile à reproduire en studio.
- Économique : Les séances en extérieur éliminent les coûts liés au matériel de studio, et la lumière naturelle est gratuite.
- Variabilité dynamique : Un même lieu peut offrir des rendus très différents selon l’heure de la journée ou les conditions climatiques, multipliant les possibilités créatives.
Inconvénients
- Dépendance à la météo : Une météo imprévisible peut perturber vos projets. Il est essentiel de consulter les prévisions avant de partir en séance.
- Contraintes temporelles : Certaines conditions lumineuses, comme celles de l’heure dorée, offrent un éclairage magnifique mais ne durent qu’un court instant, exigeant une exécution rapide.
- Contrôle limité : Vous ne pouvez pas contrôler la position du soleil, ce qui peut laisser votre décor idéal dans l’ombre. Contrairement au studio, il est impossible de simplement repositionner la source de lumière.
Rapports de lumière
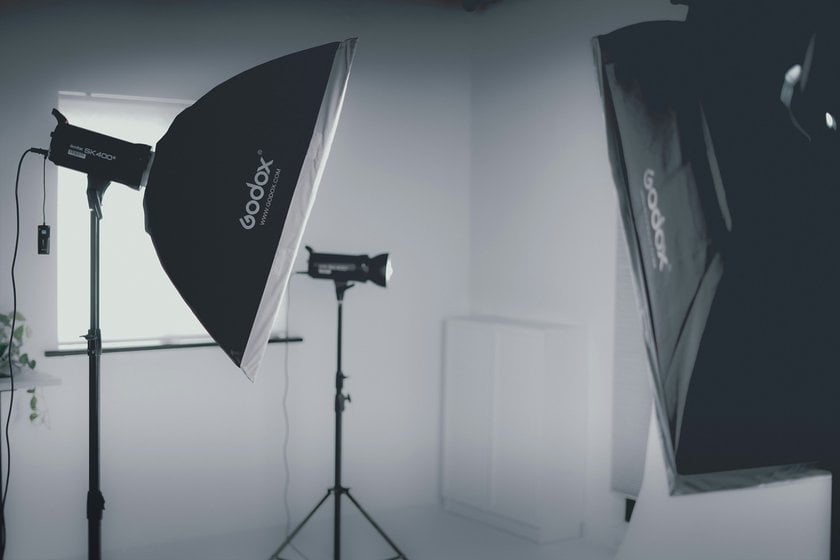
Un autre concept essentiel à comprendre est celui des rapports de lumière, qui mesurent la différence d’intensité entre votre lumière principale (key light) et votre lumière d’appoint (fill light).
- Lumière principale : Votre source lumineuse principale.
- Lumière d’appoint : Une lumière secondaire utilisée pour adoucir les ombres et réduire le contraste.
L’équilibre entre ces deux lumières détermine l’ambiance et l’aspect final de votre portrait. Explorons les rapports de lumière à leurs deux extrêmes :
Rapport d'éclairage 1:1 | Rapport d'éclairage 8:1 |
Ici, la lumière principale et la lumière d'appoint éclairent le sujet de manière égale. Le contraste entre l'ombre et la lumière est faible, voire inexistant, ce qui donne une image plate. L'éclairage plat est couramment utilisé en photographie de beauté car il est extrêmement flatteur. | Ce rapport indique que la lumière principale est huit fois plus lumineuse que la lumière d'appoint, ce qui crée un contraste saisissant. Les hautes lumières sont proéminentes, tandis que les ombres révèlent un minimum de détails. Cette configuration fonctionne bien pour les portraits artistiques, mais elle est moins adaptée à la photographie commerciale de beauté. |
Les rapports d'éclairage situés entre ces deux extrêmes créent différents niveaux d'ombre et de contraste, chacun servant des objectifs créatifs ou commerciaux spécifiques.
L'éclairage joue un rôle important dans la photographie, car il ne se limite pas à l'illumination de la scène. En comprenant ces techniques et leurs effets, vous pouvez affiner vos portraits et améliorer votre travail. Explorons maintenant quelques équipements essentiels pour l'éclairage de vos prises de vue.
Équipement essentiel
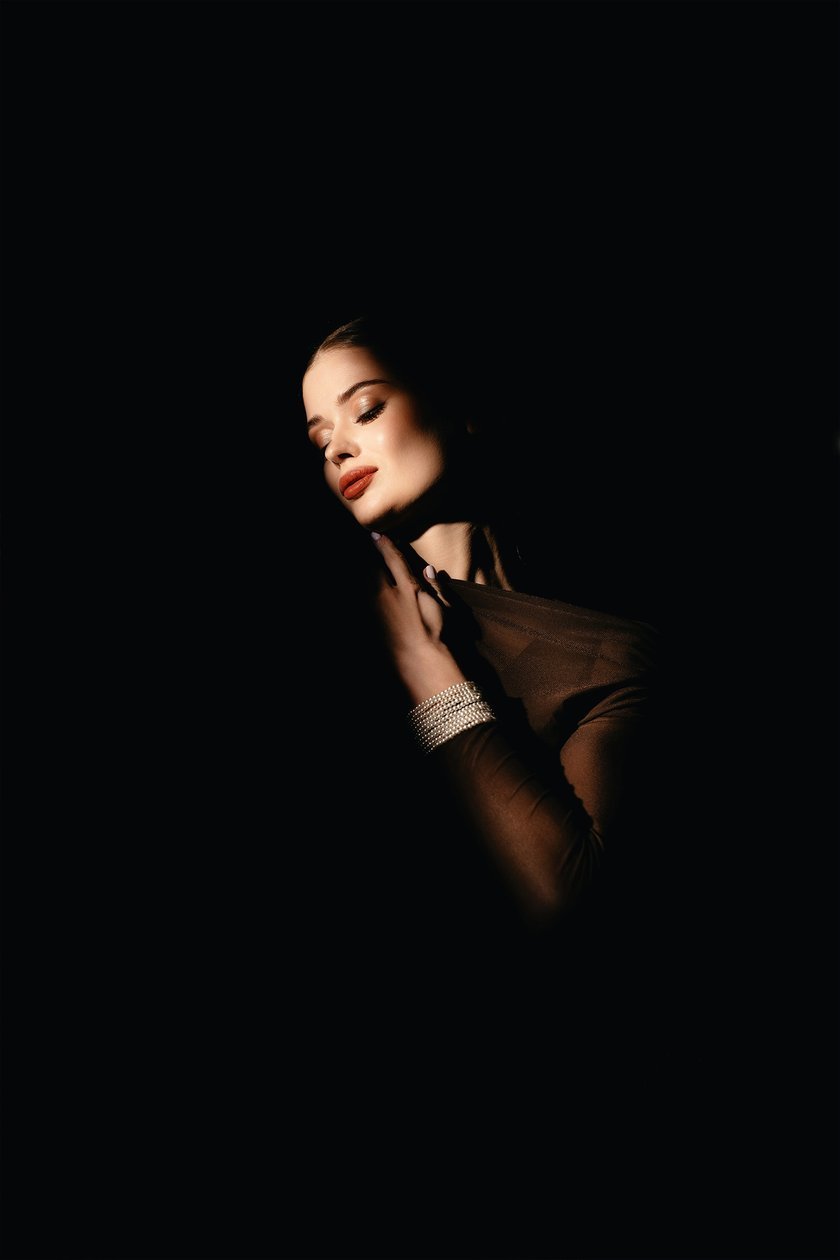
Dans ce guide, nous n’allons pas passer en revue chaque type de lumière disponible en studio ou pour les prises de vue en extérieur, car vos achats dépendront entièrement de votre budget et de vos besoins spécifiques. Toutefois, nous allons explorer les principaux types de sources lumineuses et les équipements essentiels pour sublimer vos portraits, y compris les configurations d’éclairage les plus efficaces pour obtenir des résultats professionnels.
Sources lumineuses
- Éclairage continu : Il s’agit d’une lumière qui reste allumée en permanence, illuminant constamment la scène. C’est une excellente option pour les débutants, car elle permet de voir en temps réel comment la lumière agit sur le modèle.
- Éclairage stroboscopique : Ce type de lumière se déclenche uniquement lorsque l’obturateur est actionné, émettant un éclair puissant qui produit des images nettes et précises. Bien qu’il faille un certain temps pour s’y habituer, l’éclairage stroboscopique est privilégié par les professionnels pour la qualité supérieure de ses résultats.
Modificateurs de lumière
- Boîtes à lumière (softboxes) : Une ampoule nue sans diffusion produit une lumière dure et éblouissante avec des ombres marquées. Les boîtes à lumière adoucissent et diffusent cette lumière, offrant un éclairage plus homogène et flatteur pour le modèle.
- Réflecteurs : Solution économique pour renvoyer la lumière vers le modèle et combler les ombres, les réflecteurs peuvent remplacer une lumière d’appoint secondaire. Ils existent en plusieurs couleurs, comme l’or, qui ajoute de la chaleur aux tons de peau. Choisissez ceux qui s’accordent avec votre style.
- Parapluies : Les parapluies diffusent une lumière douce et uniforme sur toute la scène. Ils sont parfaits pour un éclairage flatteur (comme pour les portraits beauté) ou pour illuminer de grands espaces ou décors.
- Bol beauté (beauty dish) : Il produit une lumière plus directionnelle et concentrée, idéale pour faire ressortir les traits du visage. Il combine douceur et précision, ce qui en fait un outil courant en photographie de mode et de beauté.
Accessoires
- Filtres gélatine : Ils permettent d’ajouter une touche de couleur créative à votre séance. Il suffit de placer un filtre coloré sur la source lumineuse pour teinter la scène dans la couleur souhaitée.
- Grilles : Ces accessoires se fixent sur la lumière pour en réduire l’angle de diffusion, concentrant le faisceau sur une zone précise. Par exemple, vous pouvez éclairer uniquement le modèle tout en maintenant l’arrière-plan dans l’ombre.
- Snoots : Ils créent un faisceau étroit et concentré, parfait pour mettre en valeur une zone spécifique, comme le visage du modèle ou un objet précis dans la scène.
- Volets coupe-flux (barn doors) : Fixés sur la source lumineuse, ces volets permettent de contrôler le débordement de lumière en ouvrant ou fermant les « portes », dirigeant ainsi la lumière avec précision là où vous le souhaitez.
Options portables
- Lumières LED légères : Alimentées par batterie, elles sont idéales pour les séances en extérieur. Compactes mais puissantes, elles facilitent les déplacements, bien qu’il faille surveiller l’autonomie.
- Réflecteurs : Légers et faciles à transporter, ils sont parfaits pour l’extérieur. Ils permettent de rediriger la lumière naturelle, en particulier lorsqu’elle n’atteint pas suffisamment le sujet.
Il n’est pas nécessaire d’investir dans tout cet équipement dès le départ. Commencer avec une seule source de lumière — qu’il s’agisse de la lumière naturelle ou d’un éclairage de studio — peut suffire à produire d’excellents résultats. À mesure que vous gagnez en expérience, vous pourrez étoffer progressivement votre matériel avec des outils et des modificateurs supplémentaires pour affiner votre travail. Puisque nous parlons de sources de lumière uniques, explorons à présent quelques techniques d’éclairage simples mais puissantes, utilisées même par les professionnels, pour créer des portraits saisissants.
Crée sans limite – Choisis un plan et commence
Voir les plansConfigurations classiques d’éclairage pour les portraits
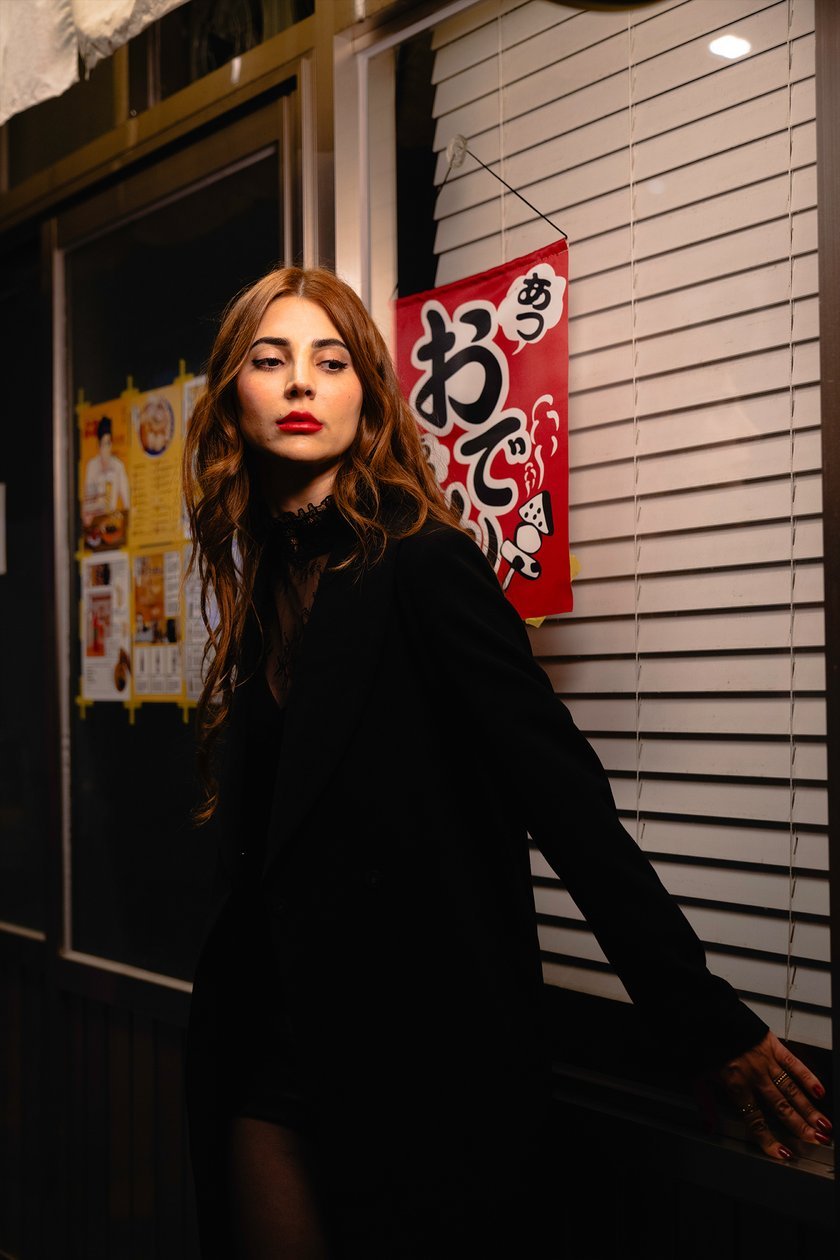
Les techniques d’éclairage suivantes sont simples à mettre en place et ne nécessitent souvent qu’une seule source lumineuse. Vous pouvez utiliser un réflecteur pour atténuer les ombres sur le visage du modèle, mais ce n’est pas indispensable. Au fur et à mesure de vos progrès en photographie de portrait, vous pourrez intégrer d’autres types d’éclairages et diversifier votre configuration, notamment :
- Lumière d’appoint : Offre un contrôle plus précis de la luminosité des ombres, plus efficace qu’un réflecteur.
- Lumière de découpage : Crée un halo lumineux autour du sujet, permettant de le détacher visuellement de l’arrière-plan et d’ajouter de la profondeur.
- Éclairage de fond : Illumine le décor en arrière-plan, ajoutant de l’intérêt visuel ou de la profondeur à la composition.
- Lumière pour les cheveux : Apporte une lueur subtile aux cheveux, mettant en valeur leur texture et renforçant la séparation entre le modèle et l’arrière-plan.
Ces lumières supplémentaires peuvent être ajoutées à n’importe quelle configuration ci-dessous pour des résultats plus élaborés, mais de magnifiques portraits peuvent être réalisés avec une seule lumière.
Éclairage Rembrandt
- Comment faire : Placez la lumière à 45 degrés du sujet, légèrement au-dessus du niveau des yeux, et inclinez-la vers le bas.
- Résultat : Un côté du visage est éclairé, l’autre est en ombre partielle. Un petit triangle de lumière apparaît sous l’œil du côté ombré.
- Utilisation : Portraits dramatiques et intenses.
Éclairage papillon
- Comment faire : Positionnez la lumière directement en face du sujet, légèrement au-dessus des yeux, et orientez-la vers le bas.
- Résultat : Crée une ombre en forme de papillon sous le nez, tandis que le reste du visage est uniformément éclairé.
- Utilisation : Photographie de beauté et de mode, pour son effet flatteur et lissant.
Éclairage en boucle
- Comment faire : Placez la lumière à un angle de 30 à 45 degrés par rapport au sujet, légèrement au-dessus du niveau des yeux, et inclinez-la vers le bas.
- Résultat : Produit une petite ombre en forme de boucle sur un côté du nez, apportant de la profondeur tout en conservant une lumière équilibrée.
- Utilisation : Photographie de portrait généraliste ; convient à la plupart des formes de visage.
Éclairage scindé
- Comment faire : Positionnez la lumière directement sur le côté du sujet, à un angle de 90 degrés.
- Résultat : Un côté du visage est complètement éclairé, tandis que l’autre est entièrement dans l’ombre, créant un contraste marqué.
- Utilisation : Portraits artistiques et dramatiques.
Éclairage en coquille
- Comment faire : Placez la lumière principale directement devant le sujet et légèrement au-dessus, inclinée vers le bas. Utilisez un réflecteur ou une lumière d’appoint en dessous, orientée vers le haut pour adoucir les ombres.
- Résultat : Lumière douce et homogène qui lisse la peau et réduit les ombres, pour un rendu professionnel et raffiné.
- Utilisation : Portraits beauté et gros plans.
Ces techniques sont des classiques de la photographie professionnelle, régulièrement utilisées dans les projets commerciaux et éditoriaux. Bien que l’on puisse obtenir d’excellents résultats avec une seule source lumineuse, l’ajout de lumières secondaires comme une lumière de découpage ou de fond permet un contrôle accru et une créativité étendue. Expérimentez avec ces configurations pour découvrir le style qui vous convient le mieux !
Conclusion
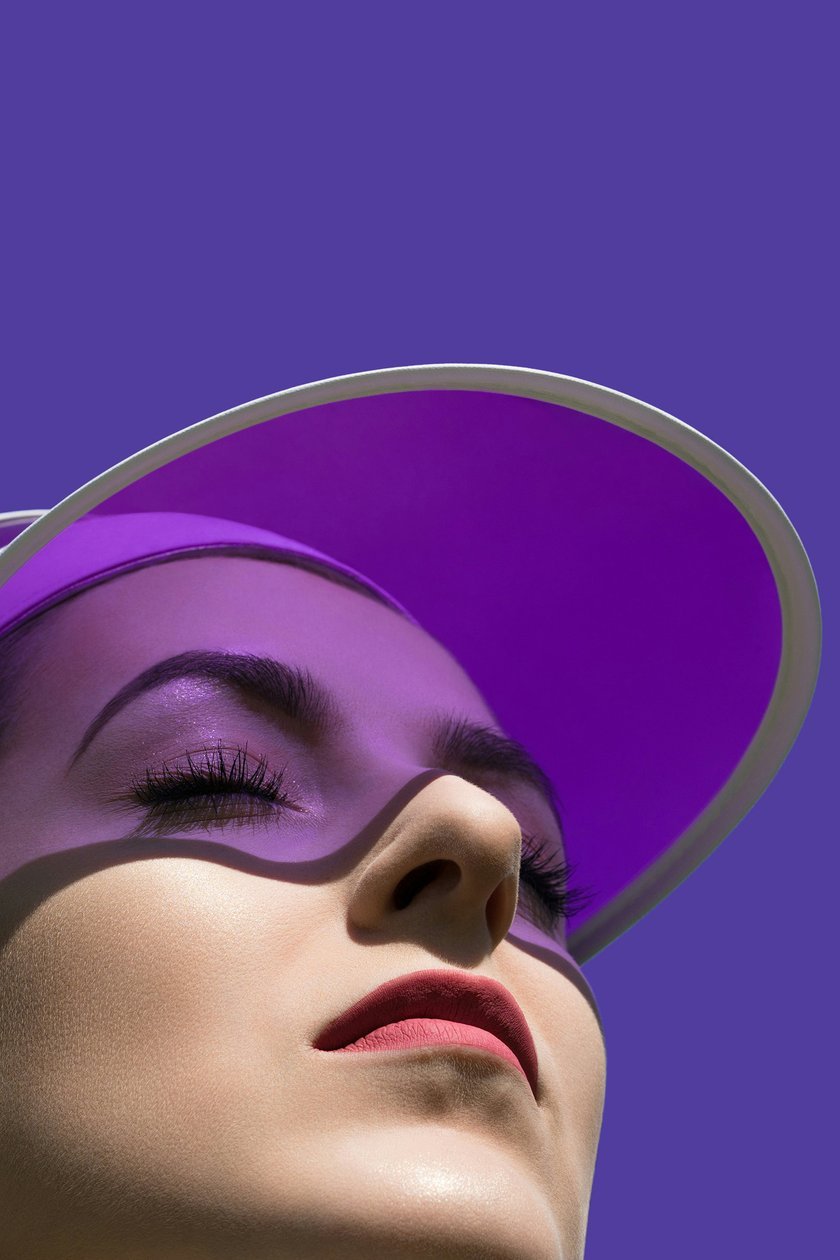
Dans l’univers de la photographie de portrait, l’éclairage est la clé pour obtenir des images d’aspect professionnel. Même si tous les autres éléments de votre scène — modèle, tenue, coiffure, maquillage — sont parfaits, un bon éclairage qui met en valeur la peau du sujet et complète votre thème reste essentiel.
Que vous photographiiez en intérieur ou en extérieur, une seule lumière suffit pour débuter. Il n’est donc pas nécessaire de vous sentir dépassé par l’idée de constituer immédiatement un équipement complet. Plus vous pratiquerez, plus vous vous sentirez à l’aise avec les configurations d’éclairage. Vous pourrez ensuite enrichir vos scènes en ajoutant progressivement d’autres sources lumineuses, mais cela ne sera pas toujours indispensable.
Alors, pourquoi ne pas commencer dès maintenant ? Prenez votre appareil photo, proposez à un ami de poser, et commencez à expérimenter différentes techniques d’éclairage. Profitez du processus et apprenez à illuminer vos portraits comme un pro !
