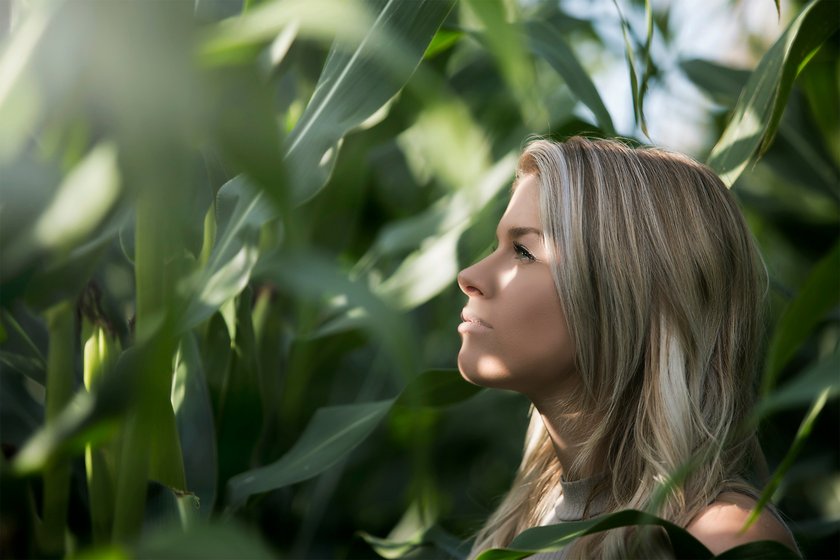
Discover essential tips for taking stunning outdoor portraits. Learn about natural light, posing, and camera settings to capture beautiful photos every time.
The great outdoors provides a vast variety of locations for outdoor portraits, so much so that it can be difficult to choose. Each location brings its own unique quality to your image, along with its benefits and challenges. There’s a huge difference between turning up to a location with your model and choosing photo spots as you go, versus thoroughly planning everything before arriving. Everything needs to be considered, from location and time of day to weather, outfit, make-up, poses, and style—the list goes on.
In this guide, we will provide you with a checklist of everything you need to consider before heading out for your shoot to ensure it’s a success. So, let’s get started.
Quick Prep Checklist for a Smooth Photoshoot
Let’s start off with a planning checklist that you can work through alongside your model.
1. Scout Locations and Key Spots
You may know of a good area for taking photos, but do you know all the specific spots you wish to shoot at, plus the route you will take? One of the most important aspects of a portrait shoot is to keep the model happy and not exhausted so they look their best on camera. If your route involves sporadic wandering, your model is going to start feeling fatigued long before your shoot finishes. It’s also wise for your route to include a few rest stops along the way to help both you and your model refresh and be ready to get back to work.
2. Decide on Style and Themes
With your location picked, it’s now time to build a style around the spots you will be shooting at. Whether it be happy and bright, moody and dark, or with a chic aesthetic, you can develop the style of the entire shoot based on the locations you’ve chosen.
3. Plan the Ideal Time of Day
The time of day you choose to shoot can significantly impact how your photos turn out. Ensure the time complements the style you’ve chosen. If you want a bright and happy look, for example, head out during the middle of the afternoon. The sun will be bright enough to fit the mood, and the tones won’t be as flat as they are at noon. Golden hour is, of course, one of the best times to shoot; the softer, warmer light is much more flattering for your model. You can use twilight for more moody shots, just be well prepared because that period of time is gone in a flash.
4. Check the Weather Forecast
The weather can make or break a shoot and should be considered carefully before heading out. If the weather changes suddenly and no longer fits your style, it may be best to postpone your shoot. Sunny, cloudy, or rainy, each type of weather will deliver its own themes and connotations that can either support your style or clash with it, diminishing the impact of your shot.
5. Coordinate Outfit, Hair, and Makeup
Another element of your shoot that can severely impact the outcome of your photos is the model’s outfit. Consider the style of the outfit and if it matches the themes you are striving for with your shot.
Additionally, ensure the colours of the outfit complement the locations you’ve chosen. This is where a sound knowledge of colour theory comes into play. Some colours ‘weigh’ more than others. You want your model’s outfit to stand out rather than the background having a bigger psychological impact on your viewer. The colours also need to complement or contrast but not clash.
Hair and makeup must also fit with both the outfit and the themes you are aiming for. Team up with a hair and makeup artist to help with ideas and to keep the model looking their best throughout the shoot.
6. Choose and Practice Poses
Body language and poses go a long way in communicating the themes you are portraying in your shots. Create a mood board and show it to your model before starting the shoot so they are aware of the look you are going for.
Work closely with your model before the shoot and communicate effectively exactly what you are setting out to achieve. Share mood boards of poses, outfits, and the themes you wish to capture, and perhaps images of the locations you wish to shoot at.
Top Tip: Allow the model to review photos throughout the shoot. This is a great way for them to assess their performance with poses, and it allows you both to discuss how the shoot is going and what you can possibly improve. Both of you want the best outcome, so collaborate and work together to create amazing work.
Now, Let's Talk about Lighting Techniques
Despite not being in a studio, you can still control the effect that light has on your images. Let’s look at some ways you can maximise the available light for outdoor shoots.
Working with Natural Light
When working outdoors, we are subject to the sun and the weather. On a clear day with bright blue skies, the sun acts like a single bare bulb in a studio, creating dense shadows and heavy contrast. With cloudy conditions, the sun is veiled, and the sky becomes like a giant softbox, minimising shadows and delivering a more flattering look for our model.
So, how do you work in these conditions? If you’ve worked with studio lighting before, you will understand portrait lighting techniques such as Rembrandt or Butterfly Lighting. This can be achieved outdoors by considering the position of your model relative to the sun. You could even work with side or backlighting, depending on the time of day and the location you’re in.
Top Tip: Make use of reflectors if you’re struggling with shadows and an unevenly-lit face. Alternatively, you can use flags, which help block light if you wish to create a dramatic effect.
What about Using Artificial Light Outdoors?
Yes, this can also be an option, and it's a pretty good one. There are powerful portable artificial lighting setups that you can bring with you to the shoot, such as portable flashes and continuous lights. These can help provide additional lighting or even add a splash of colour to your image. Many portable lights come equipped with an array of RGB tones that you can use to add a layer of interest either to your model or the backdrop.
Top Tip: As it starts to get later in the day, particularly during twilight, a portable light can dramatically enhance your shot. While there is still natural light available, we need as much help as possible to keep our ISO low and our images sharp and crisp.
While the studio affords us maximum control over lighting setups and how they impact our model, we can still take lighting principles from the studio and apply them outdoors. Get creative and incorporate artificial lighting into your shoot to add a layer of interest, fill in shadows, or prevent unwanted noise later in the day.
Posing and Composition: 5 Key Tips
Let’s take a look at how you can take great outdoor portraits with amazing poses and compositions that can help elevate your shots. This is certainly something you should plan before arriving for the shoot, but also, don’t be afraid to get creative and attempt those spur-of-the-moment ideas.
Tip 1. Choose Dynamic or Static Poses to Suit Your Setting
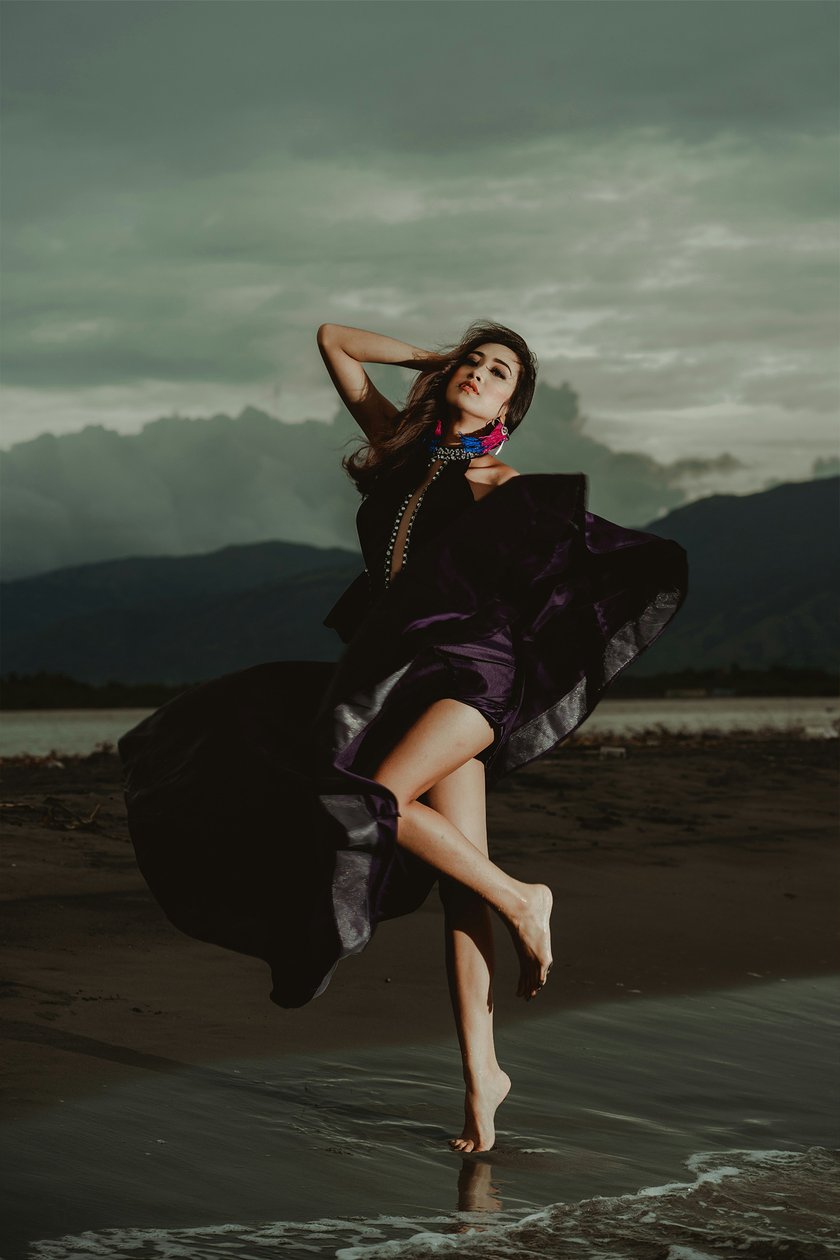
When it comes to poses, you can divide them into two categories: static and movement. Both work well in any setting, but due to the space available when shooting outdoors, movement poses can look brilliant. This includes capturing your model walking, jumping, running, dancing, and much more.
Tip 2. Use the Environment to Inspire Unique Poses
One of the best elements of working outdoors is that certain locations can unlock a whole new set of poses and composition ideas. You can work with the environment around you, using elements as platforms or seats, which can add a lot of interest to your shots. Your model can position themselves on low walls, rocks, or trees, either standing or sitting.
Tip 3. Enhance Composition with Natural Elements
Shooting outdoors provides us with the unique opportunity to use natural elements to enhance our composition; this can include looking for leading lines or applying the rule of thirds. We can also get especially creative with framing.
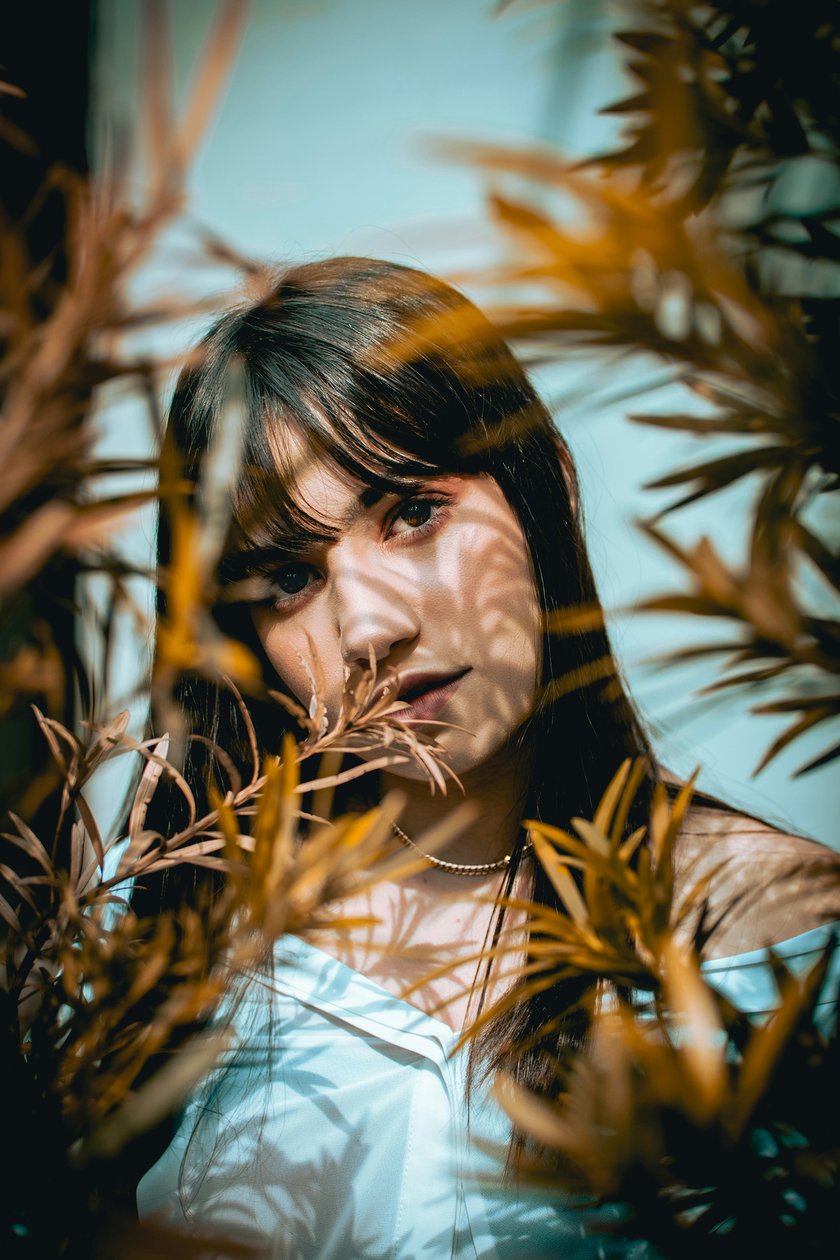
You can use elements such as gaps in branches, fences, or between buildings, rocks, and trees to frame your model, enhancing your composition and creating a beautiful border around them. So, look for elements in your locations that add depth, framing, and lead the viewer’s eye towards the model.
Tip 4. Incorporate Environmental Props for Extra Interest
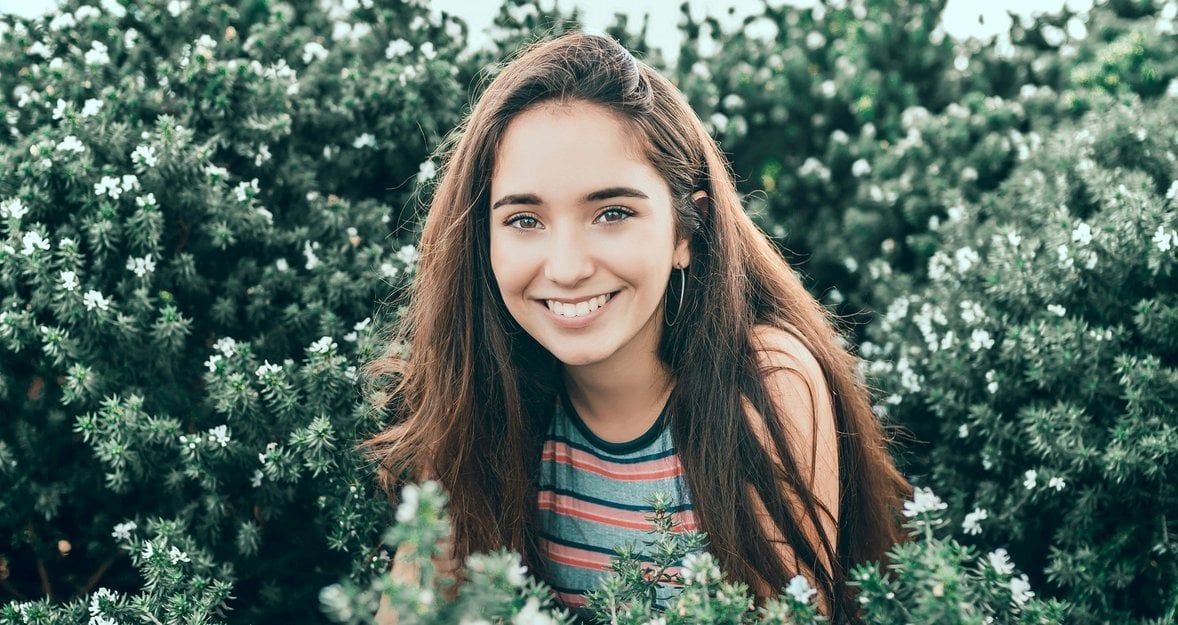
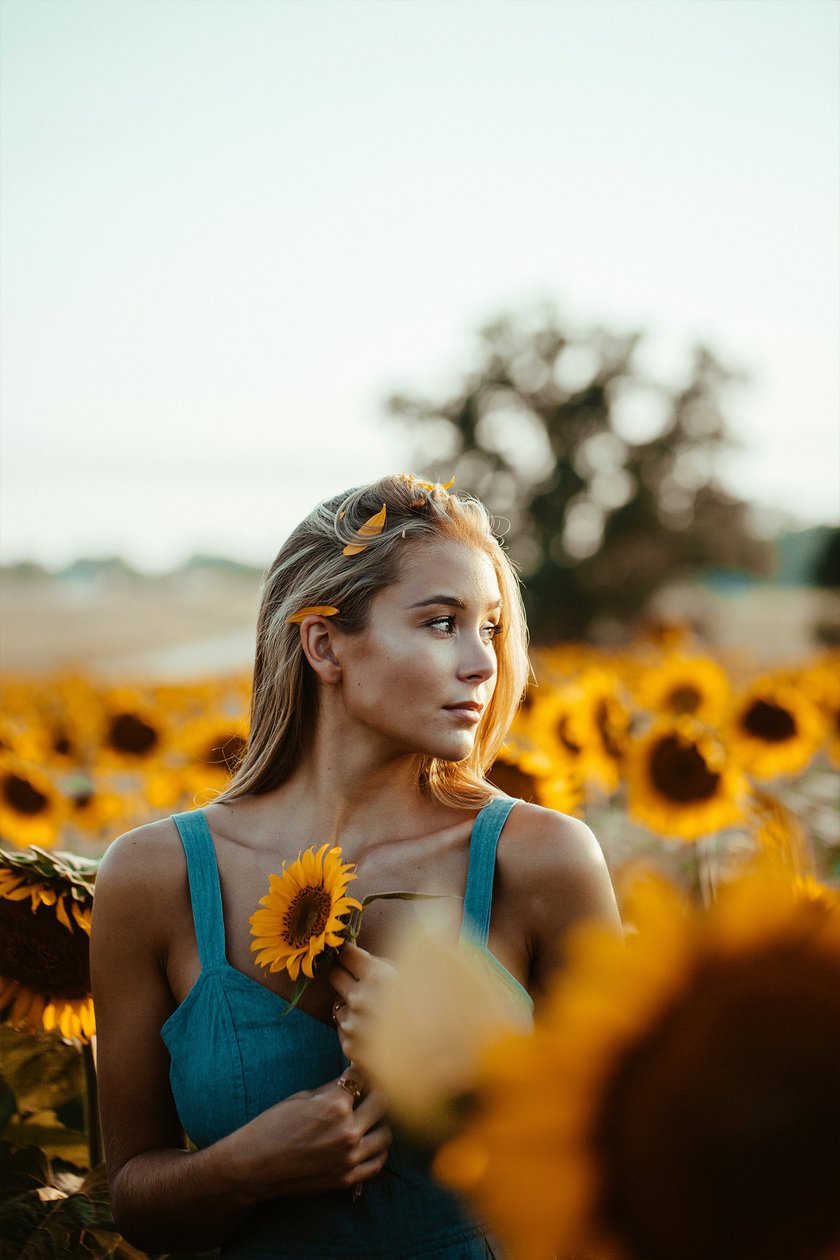
Make use of the environment around you and utilise elements as props in your shoot. If you are in a natural setting, find flowers and leaves for your model to hold. If you are shooting on a rainy day, look for reflections in puddles. For other mirrored effects, if you are shooting around buildings, look for reflections in windows. All of these opportunities are afforded to us when working outdoors, so make the most of them!
Tip 5. Keep the Model as the Focal Point
While we may be shooting in an interesting location, it should only serve as a backdrop and never as the centre of attention. We don’t want to lose our model in the backdrop and have the viewer realise later that they are supposed to be looking at a portrait image. The model should dominate the image with both their proportion in the frame and with colour. If you plan to have the model diminished in scale compared to the backdrop, ensure that they are in a position in the frame that the eye naturally leads towards and that they contrast starkly with the colour of the backdrop.
The Bottom Line
The outdoors offers our portraits an exciting dynamic that is extremely fun to work with. While we don’t have complete control over the lighting as we would in a studio setting, we can still use studio lighting principles and practices with natural lighting or by introducing artificial lighting. It isn’t necessary to use artificial lighting, but it can be a huge benefit if we are shooting later in the day to avoid noisy images.
The outdoors also provides many opportunities to enhance our images by incorporating the environment into our compositions and poses. We need to lean into the elements available, using what’s around us to help frame our model or lead the eye naturally towards them. While it is imperative that the backdrop isn’t more eye-catching than the model, we can still work at interesting locations provided that our model fills the frame enough to dominate the space and wears colours that either complement or contrast with the background. Avoid working with outfits that clash with the colours of the backdrop or "weigh" less, thus diminishing the presence of our model.
Through careful planning and working closely with the model, you can ensure an enjoyable and successful shoot with interesting themes, locations, and styles. So head outdoors and have fun shooting!
Subscribe to know first
Our delivery owl will bring you our best deals and news about Skylum news.